How to Photograph Dahlias, Zinnias, and Summer Flowers in Hot, Bright Sun
By Lori Lankford | Main St Gardener
Summer is the season I've been waiting for all year. The dahlias are finally hitting their stride, the zinnias are blazing in every direction, and the garden is absolutely overflowing with color, texture, and movement. And yet — hot summer sun is one of the hardest conditions to photograph in. Harsh midday light flattens color, blows out delicate petals, and turns a gorgeous bloom into something that looks washed out and forgettable on screen.
The good news? With a few simple adjustments, summer can become your most beautiful and productive shooting season. Here's how I prepare for it — and how you can too.
Start with the Light, Not the Camera
Before you change a single setting, the most important decision you'll make is when you walk out into the garden. Light is everything in flower photography, and summer light changes dramatically over the course of a day.
Golden hour — that first hour after sunrise and the last hour before sunset — is where the magic lives. The sun is low and angled, wrapping around petals rather than hammering straight down from overhead. It creates warmth, dimension, and a quality of light that no amount of editing can replicate. If you shoot dahlias in the early morning, you'll often catch them with a luminous backlit glow and petals still crisp and fresh before the heat of the day sets in.
Overcast days are wildly underrated. That soft, diffused light acts like a giant softbox over your entire garden. Colors stay rich and saturated, shadows are gentle, and the petals hold detail beautifully. On a fully cloudy summer morning, I'll spend twice as long out in the garden because every single flower is photogenic.
If you must shoot in the middle of the day, look for open shade — the north side of a fence, beneath a tree canopy, or even the shadow cast by a building. Harsh direct sun creates blown-out highlights and deep, unflattering shadows. Move yourself and your subject into shade, and you'll be surprised how much better the images look immediately.
Camera Settings for Bright Summer Light
For DSLR or Mirrorless Cameras
Aperture (f-stop): This is your most powerful creative tool for flower photography. Shoot wide open — f/1.8 to f/2.8 — to separate your bloom from the busy background. A full summer garden is beautiful in person but visually chaotic in a photograph. A wide aperture melts that chaos into a soft, creamy blur (bokeh) and puts the focus exactly where it belongs: the flower.
Shutter speed: In summer, wind is your enemy. Dahlias on tall stems sway constantly, and zinnias aren't much better. In any kind of breeze, shoot at a minimum of 1/500s — and go to 1/800s or faster if things are really moving. Motion blur from wind is incredibly frustrating because you don't always notice it until you're back inside looking at your images on a big screen.
ISO: In bright conditions, keep it low. ISO 100–200 is plenty — you have more than enough light. Let your aperture and shutter do the heavy lifting. If there is a slight breeze shoot at ISO 400 to reduce camera movement.
Exposure compensation: This catches a lot of people off guard. In very bright, high-contrast scenes, your camera's metering system often underexposes to avoid blowing out the sky or background. Your flowers end up too dark and slightly muddy as a result. Dial in +1/3 to +2/3 EV exposure compensation, especially when shooting light-colored blooms like white or pale yellow dahlias.
For Smartphone Cameras
Smartphones have become remarkably capable for flower photography, and the fundamentals are the same — the tools just look a little different.
Tap directly on the flower to set your focus point. Once you've tapped to focus, you'll see a small sun icon appear — slide it slightly downward to pull back the exposure and keep those petals from going bright white and losing all their detail.
Use Portrait Mode to mimic a wide-aperture background blur. It works especially well when you're close to a single bloom with some distance between the flower and whatever's behind it.
Try shooting with the sun behind and slightly to the side of the flower for a gorgeous backlit effect — more on that below.
Composition Tips That Change Everything
Get low. This one is simple but transformative. Drop to the level of the bloom — crouch, kneel, lie on the ground if you have to — rather than shooting down at it. Looking a flower in the eye creates intimacy and draws the viewer into the scene rather than looking down at it from above.
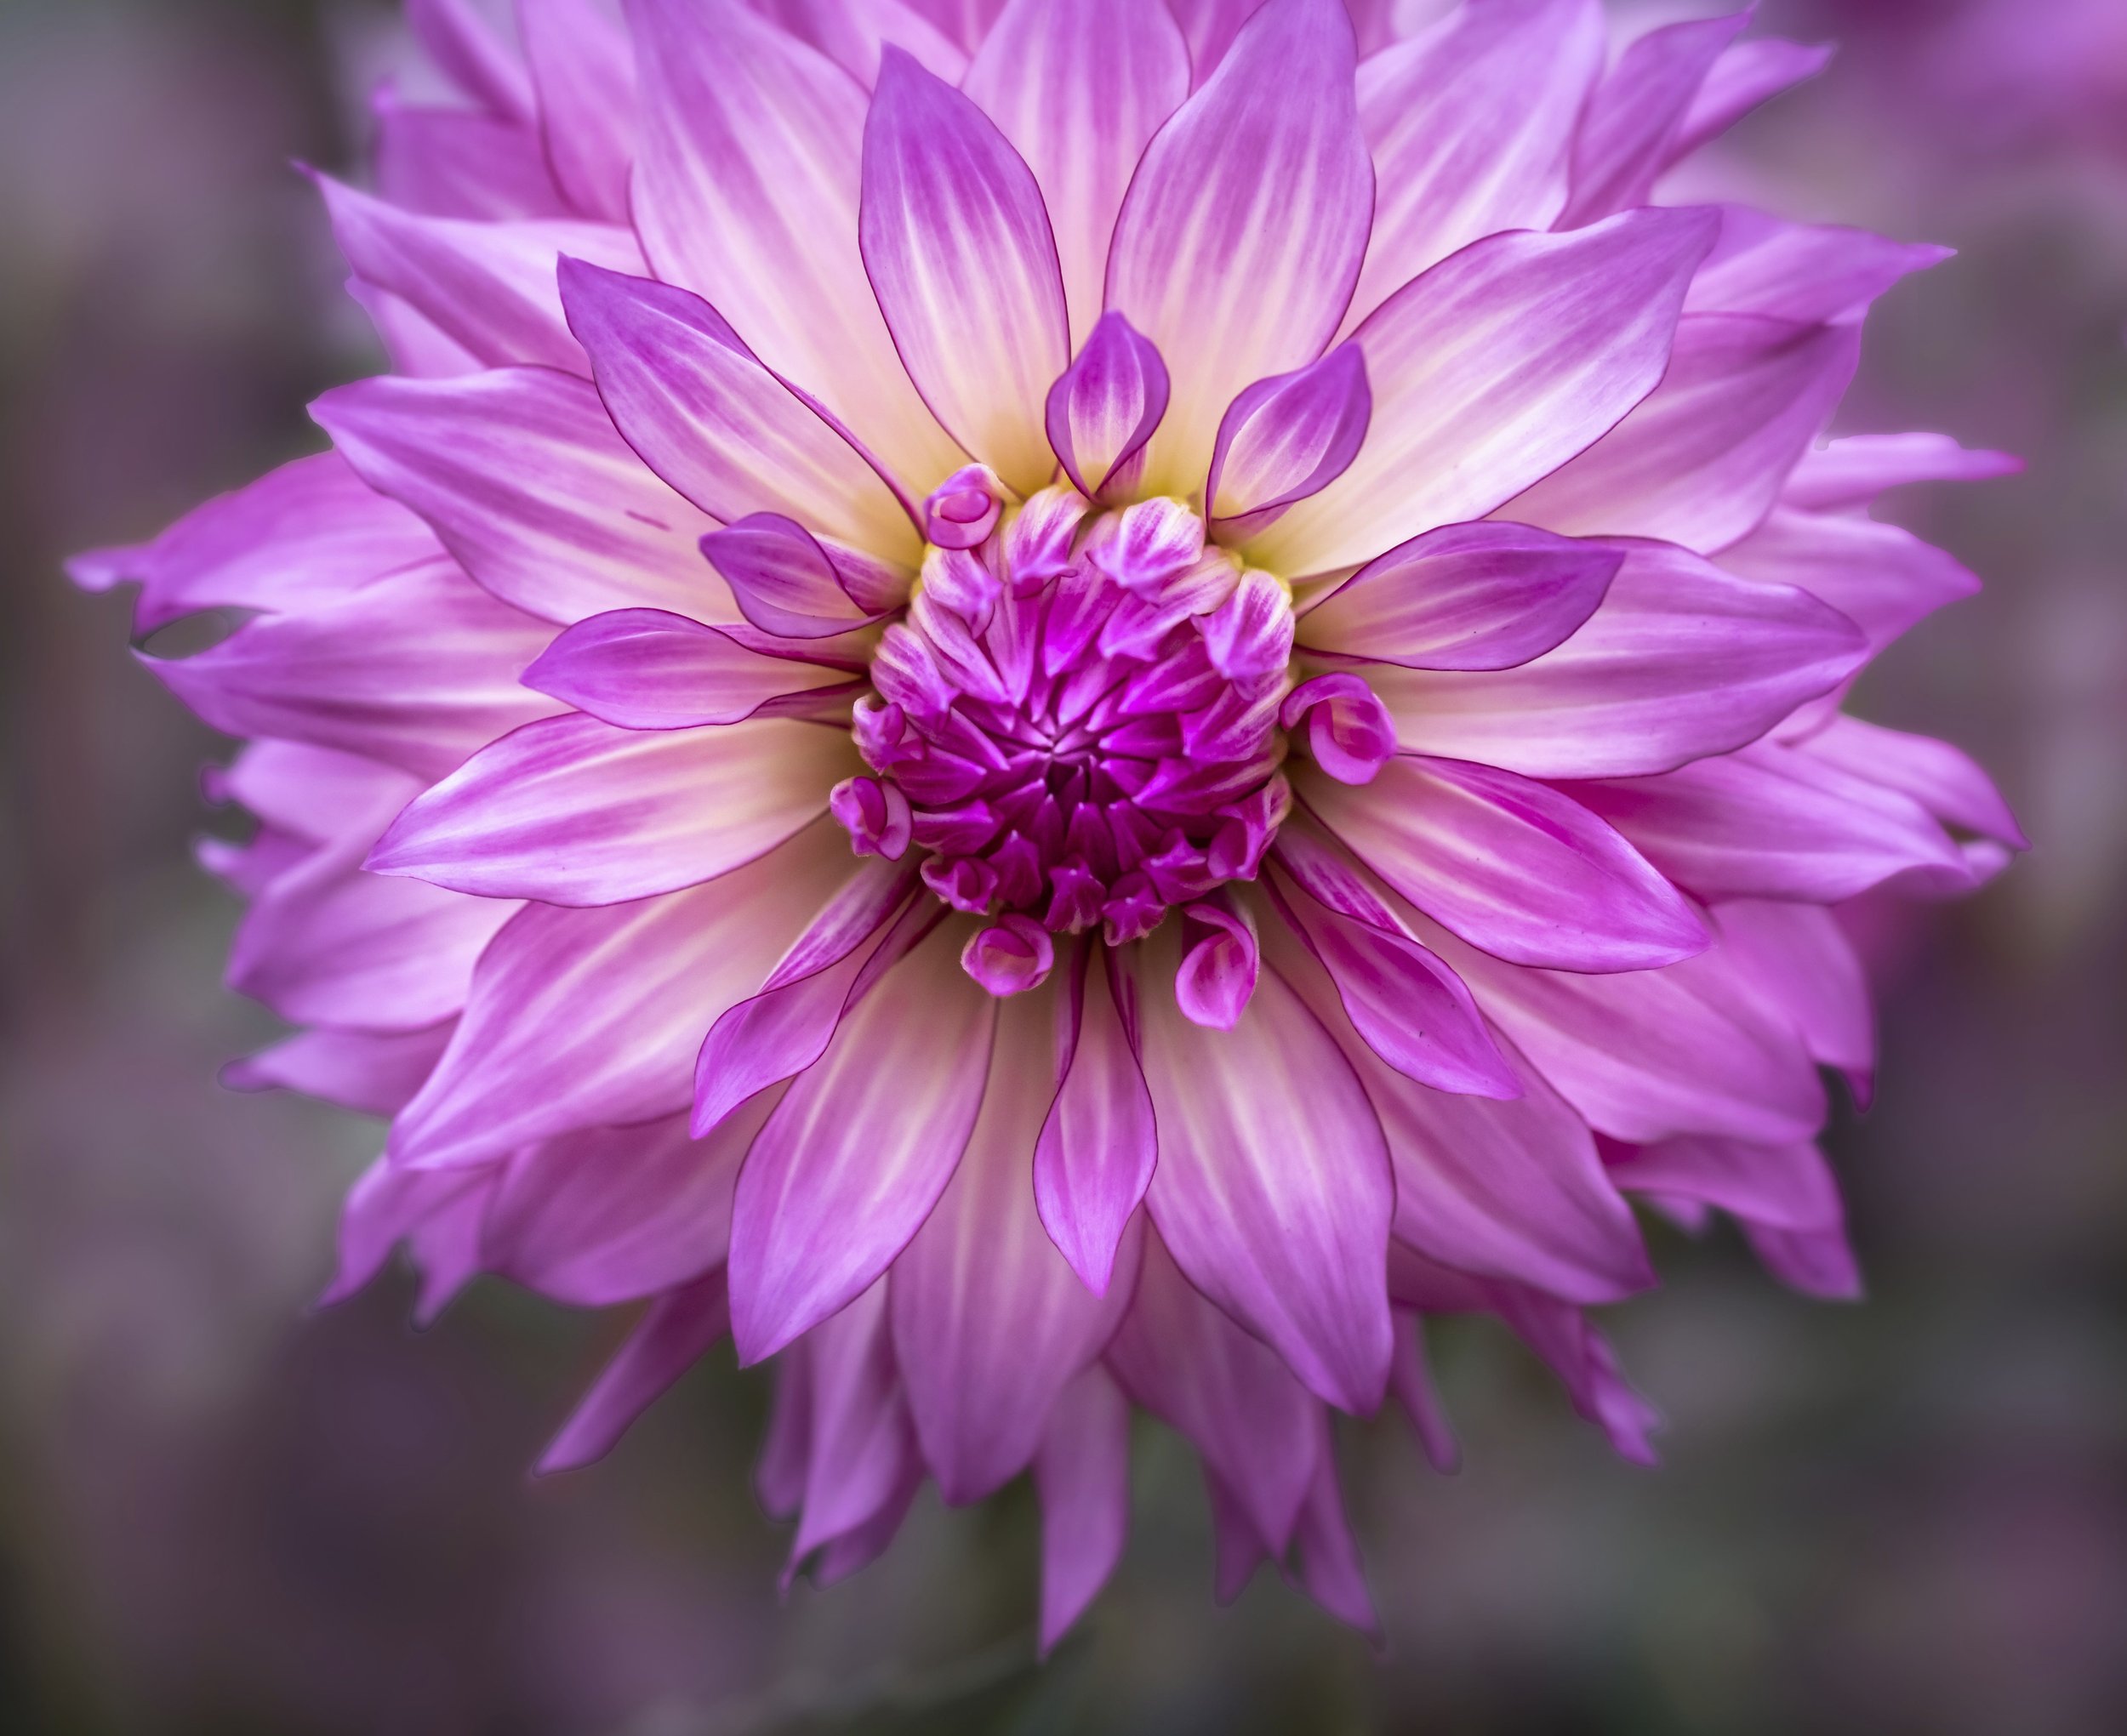
Fill the frame. Move in close enough that the bloom fills most of your composition. Don't leave a lot of empty green space around the flower out of habit. With dahlias especially, that spiraling geometry at the center is extraordinary up close — let it own the frame.
Find a clean background. Even in the most crowded garden, a small shift in your angle — a step to the left, crouching a few inches lower — can swap a cluttered background for a clean sweep of dark foliage or soft sky. Move your feet before you reach for your settings.
Use the rule of thirds. Rather than centering every flower, try placing the bloom slightly off-center. It creates a more dynamic, interesting image and leaves room for context — a hint of another flower, a soft blur of garden behind it.
Shooting Dahlias vs. Zinnias — What's Different
Dahlias reward patience and precision. Their layered petals are dense and complex, and the light catches them differently depending on the angle. I almost always shoot dahlias straight-on or very slightly from below to capture the full geometry of the bloom. They're also heavy on tall stems, which means they move a lot — fast shutter speeds are essential. Early morning is their best hour; by afternoon the petals can soften and droop in the heat.
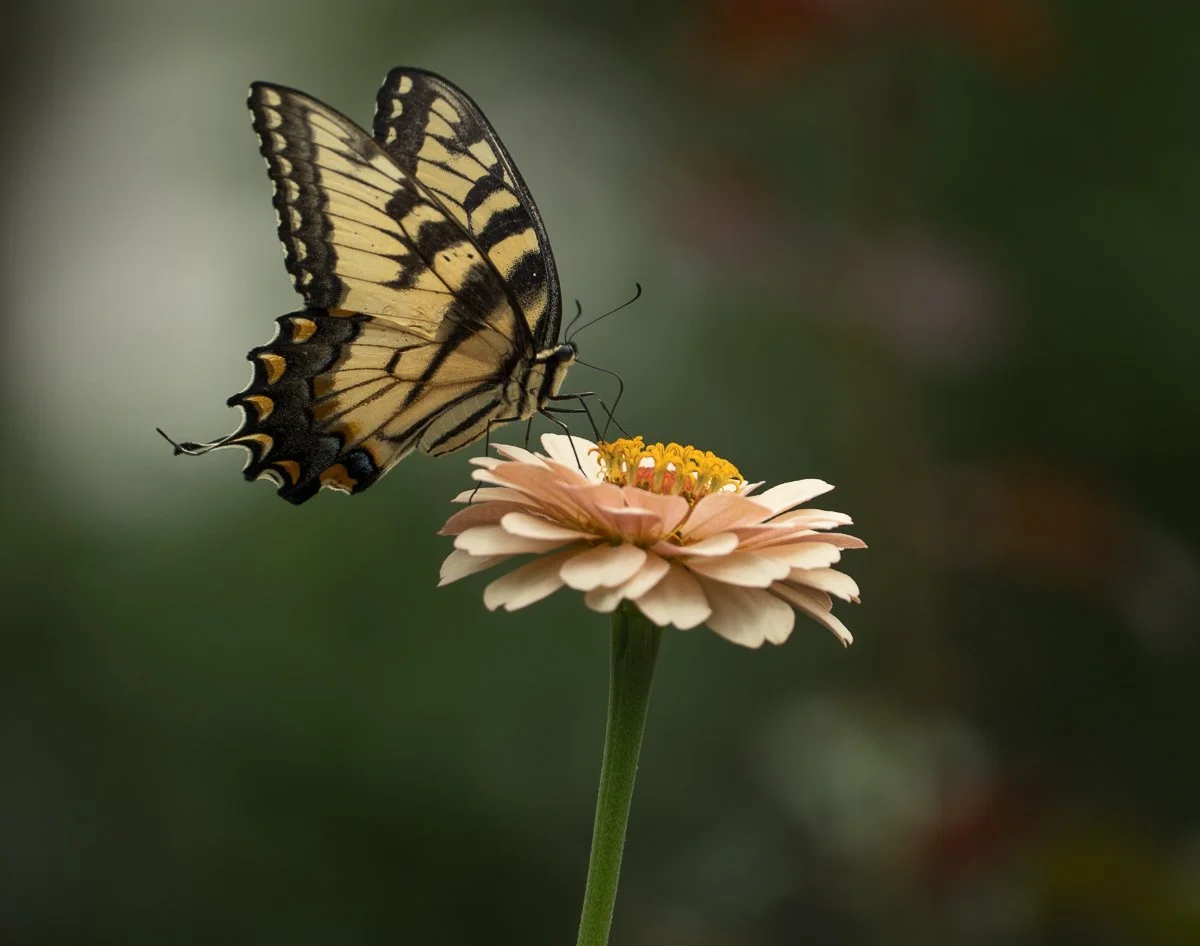
Zinnias are more forgiving and more playful. Their petals are thinner and almost translucent in backlight, which is one of my favorite things to capture. Position yourself so the sun is low and behind the zinnia, and watch it glow like stained glass. Zinnias also hold their shape well in heat, so they're a great subject later in the day when the dahlias are flagging. Their bright, saturated colors pop beautifully against dark backgrounds — look for deep green foliage behind them.
A Few Creative Techniques Worth Trying
Backlight and rim light. Get the sun low and behind your subject. Zinnias go luminous; dahlia petals develop a warm, glowing rim that makes them look almost otherworldly. This is one of the most beautiful effects available to any flower photographer, and it costs nothing.
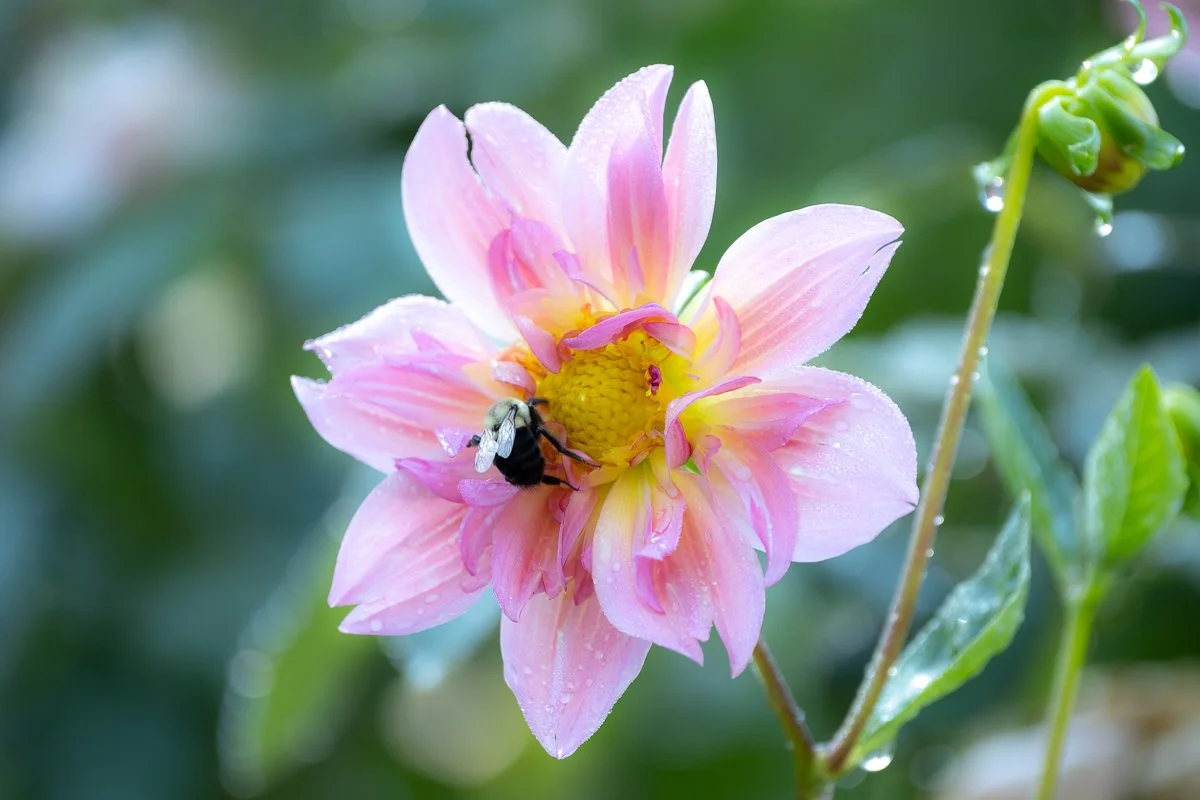
Water droplets. Mist your blooms with a small spray bottle just before you shoot. Those tiny water beads catch the light and add instant sparkle and life to the image. It's a simple trick, but it looks like magic.
Selective focus with movement. Set a slower shutter speed (around 1/30s) on a breezy day and let one flower go slightly soft while another stays sharp. It takes some patience and a good number of attempts, but the results are dreamy and painterly — more like a watercolor than a photograph.
Macro details. Don't just photograph the whole flower. Get close enough to fill the frame with just the center of a dahlia — those tightly packed geometric petals spiraling inward are endlessly beautiful. Or zoom in on a single zinnia petal catching the light. The small details are often the most memorable images.
A Little Gear Worth Having
You don't need much, but a few things make a real difference. A spray bottle for adding water droplets. A small reflector or even a white foam board to bounce a little light back onto the shadowed side of a flower in harsh sun. And if you're shooting with a DSLR or mirrorless camera, a 90–100mm macro lens will open up an entirely new world of detail that a standard kit lens simply can't reach.
Summer doesn't last long enough. Get out in that garden early, stay humble about the light, and let the flowers show you what they're capable of. The season is short — photograph it well.
