How to Photograph Your Garden with Your iPhone
5 Tips for Capturing Flowers and Gardens in Their Best Light
There is something quietly magical about walking through the garden in the early morning, camera in hand, trying to catch the way the light catches a dewdrop on a rose petal. For years I assumed you needed a proper camera and a collection of lenses to capture that kind of beauty. Then I started really leaning into my iPhone — and everything changed.
The truth is, the best camera is the one you have with you. And if you’re anything like me, your iPhone is already tucked in your pocket on every garden walk. With a few intentional techniques, you can go from casual snapshots to images that genuinely capture the mood and magic of your outdoor space. I also enjoy using my iPhone to scope out shots that I want to take with my camera. It can help you with composition out in a garden.
Here are five tips I use regularly to elevate my garden and flower photography — no fancy gear required.
Tip 1: Get to Know Your iPhone Camera Settings
Before you head outside, spend a few minutes getting comfortable with your phone’s camera controls. A handful of small adjustments can make a noticeable difference in every shot.
• Lock focus and exposure: Tap and hold on your subject until you see the yellow “AE/AF Lock” banner appear at the top of your screen. This keeps the camera from refocusing or re-exposing when you move slightly — incredibly helpful when you’re shooting a single bloom.
• Adjust exposure manually: After tapping to set focus, slide the sun icon up or down to brighten or darken the scene. Flowers photographed against bright backgrounds often need a touch of extra brightness to keep petals from looking dull.
• Turn on the grid: In Settings → Camera, enable the grid overlay. This makes it easy to apply the rule of thirds — placing your focal flower slightly off-center for a more natural, artful composition.
• Shoot in HEIF or ProRAW if available: If your iPhone supports it, shooting in a higher quality format gives you more to work with when editing later. Even HEIF captures more detail than a standard JPEG for garden photos where texture matters. I like to shoot in ProRAW to then bring the image into Lightroom to make final edits.
• Use Photographic Styles to set your color mood (iPhone 13 and newer): Newer iPhones let you dial in a signature color look right in the camera — before you even shoot.
Go to Settings → Camera → Photographic Styles and choose from options like Vibrant, Rich Contrast, Warm, or Cool. On iPhone 16 and later, you get even finer control with individual Tone and Color sliders.
The beauty of Photographic Styles is that unlike filters, they are applied intelligently — so skies stay natural while flowers get that extra warmth or richness. Set it once and every photo you take will have your consistent, personal look.
Note: Photographic Styles are available on iPhone 13 and newer. iPhone 16 adds expanded Tone and Color sliders for even more control. If you’re on an older model, you can achieve a similar effect by adjusting Warmth and Vibrance after the fact in the Photos app.
Tip 2: Use Light as Your Greatest Advantage
Light is everything in photography, and in the garden, you have the gift of natural light in some of its most beautiful forms. Learning to read the light — and time your photography around it — will transform your images more than any camera setting.
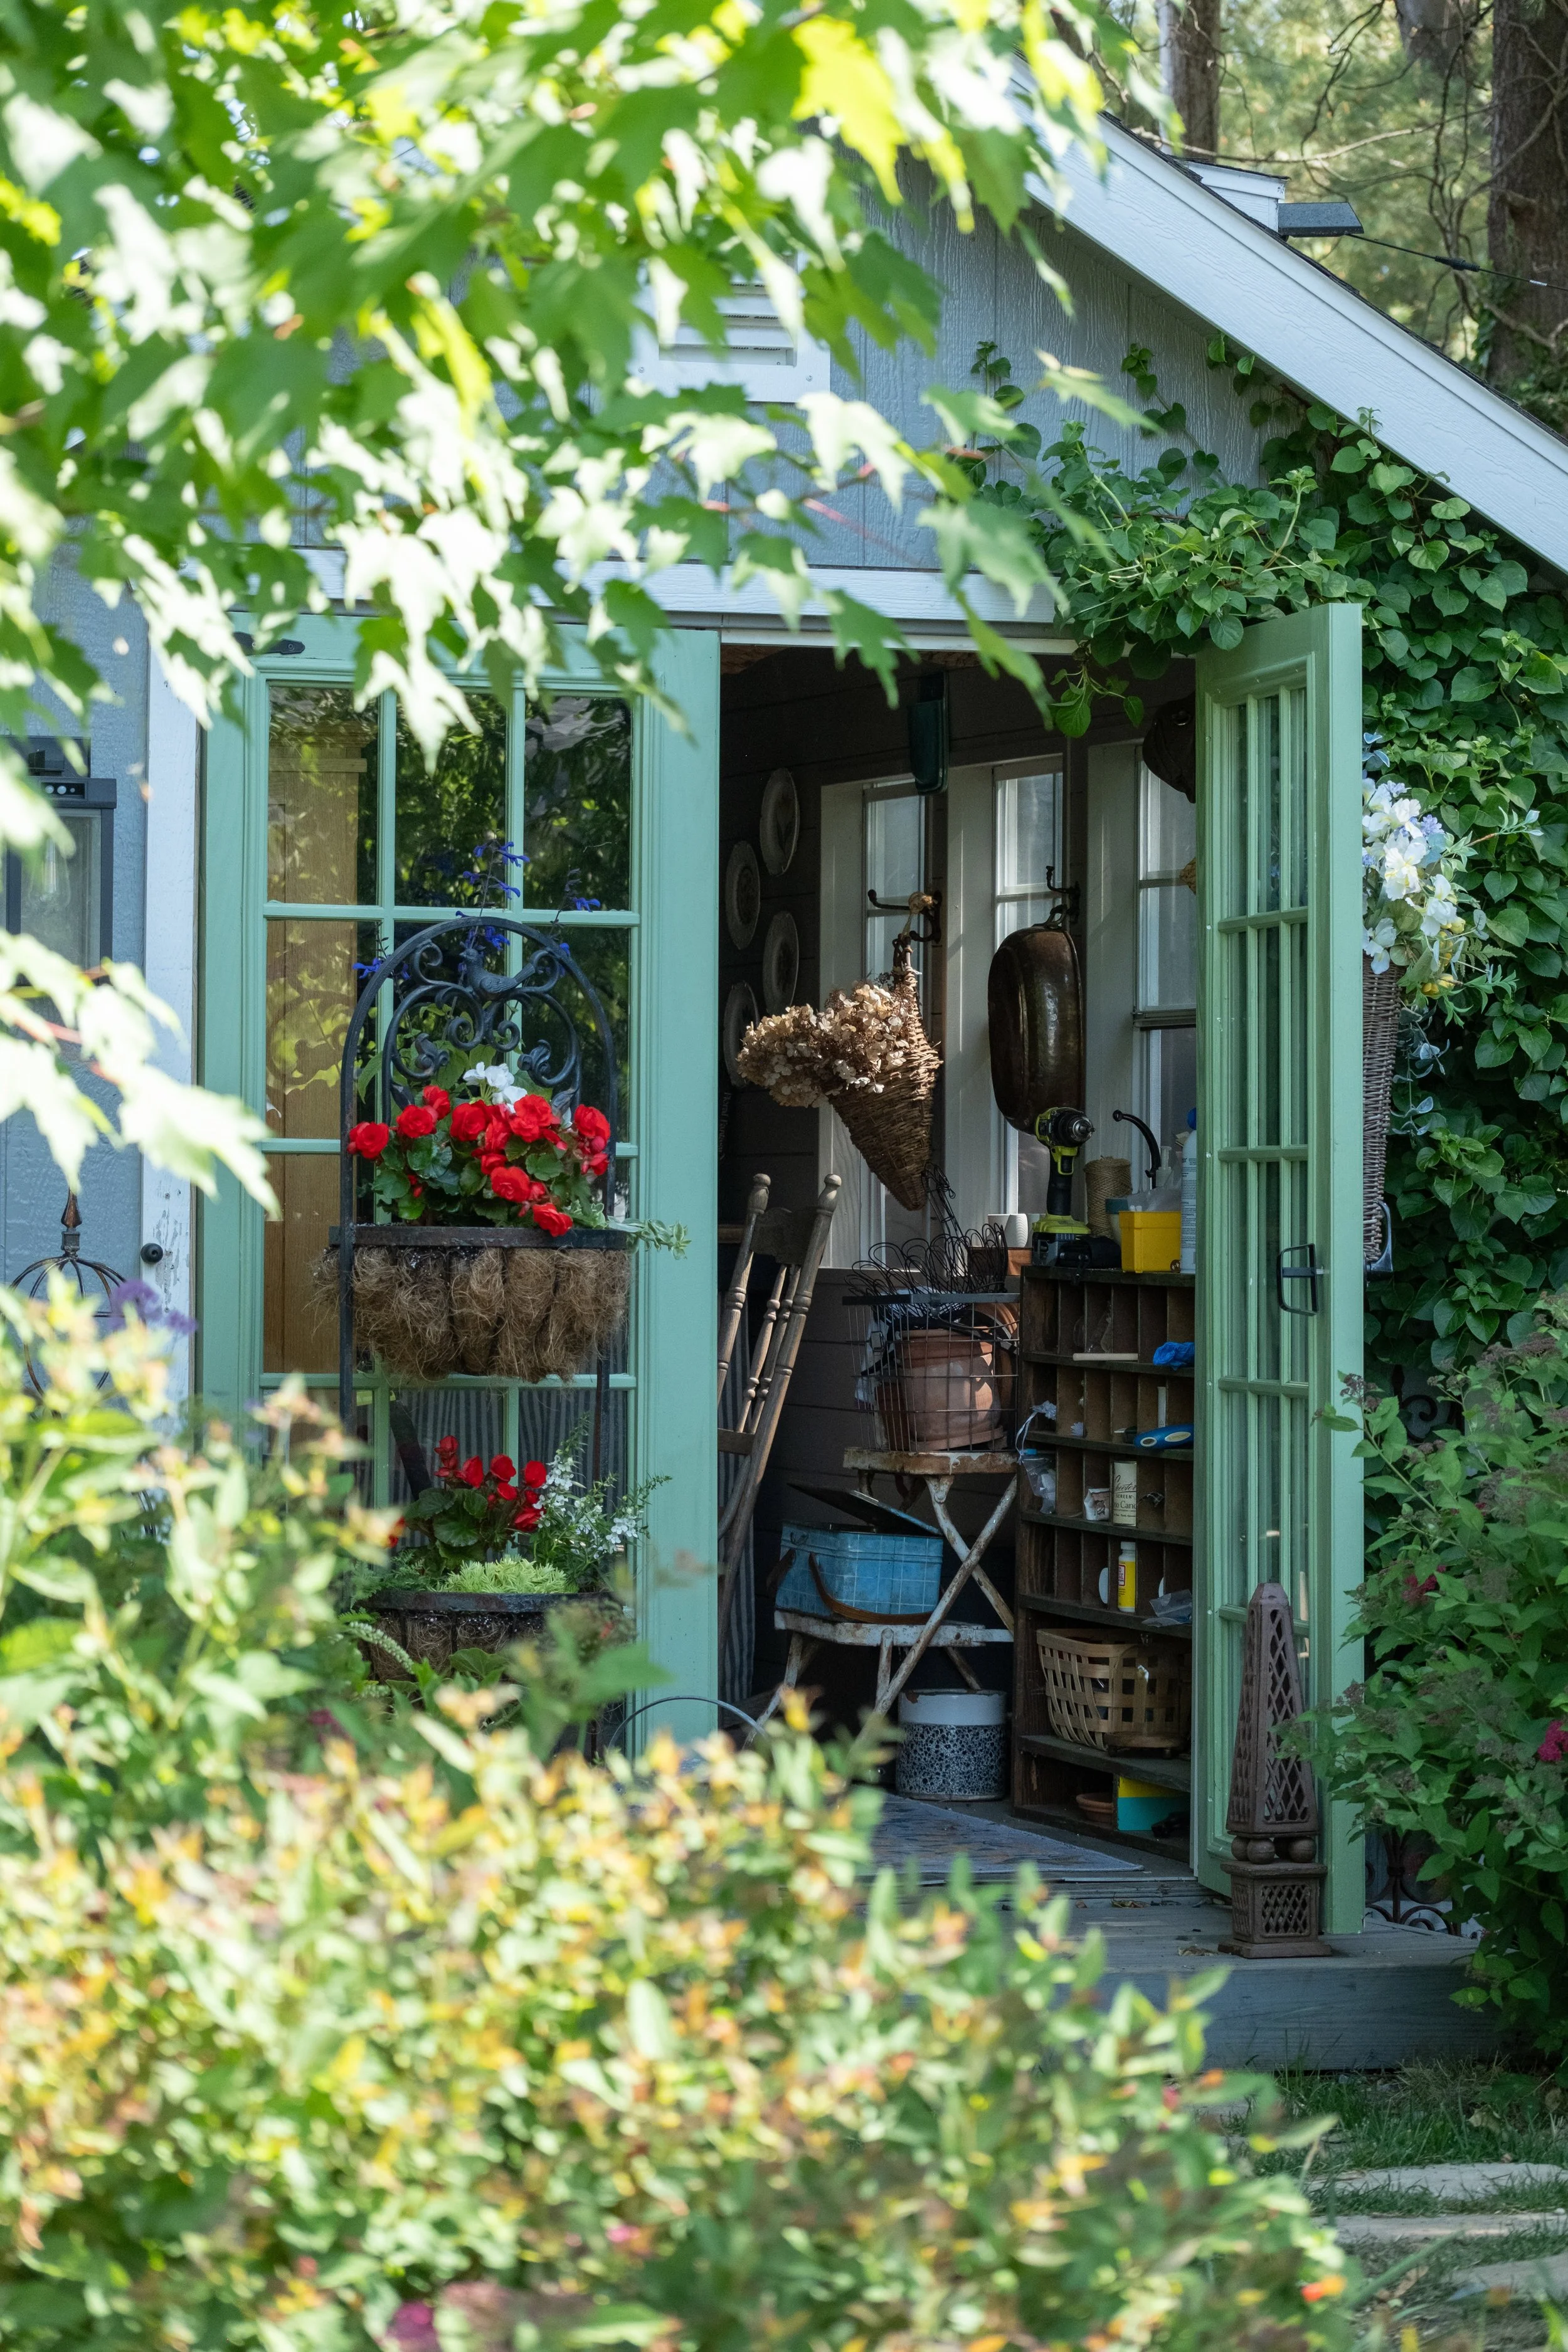
Using light to frame the scene and draw you into the flower shed with the streaming light
• Golden hour is worth the early alarm: The hour after sunrise and the hour before sunset give you warm, low-angled light that makes every petal glow. Shadows are long and soft, and the garden takes on a dreamlike quality that no midday sun can replicate.
• Overcast days are a photographer’s secret weapon: A cloudy sky acts as a giant natural softbox, diffusing light evenly and eliminating harsh shadows. Colors appear richer and more saturated. I often prefer overcast mornings over full sun for flower photography.
• Try backlighting: Position yourself so the light source (sun or bright sky) is behind your subject. Translucent petals — poppies, roses, cosmos — glow beautifully when backlit. Tap to expose for the flower itself so it doesn’t go dark.
• Avoid harsh midday sun: Direct overhead sun creates unflattering hot spots and blown-out whites on pale flowers. If you must shoot midday, move into dappled shade or use your body to gently block and diffuse the light falling on your subject. I will carry a travel sized umbrella and pop that up on bright days to block sun from close up flowers.
Using composition and shooting late in the day so the flowers are not overexposed or in shadows.
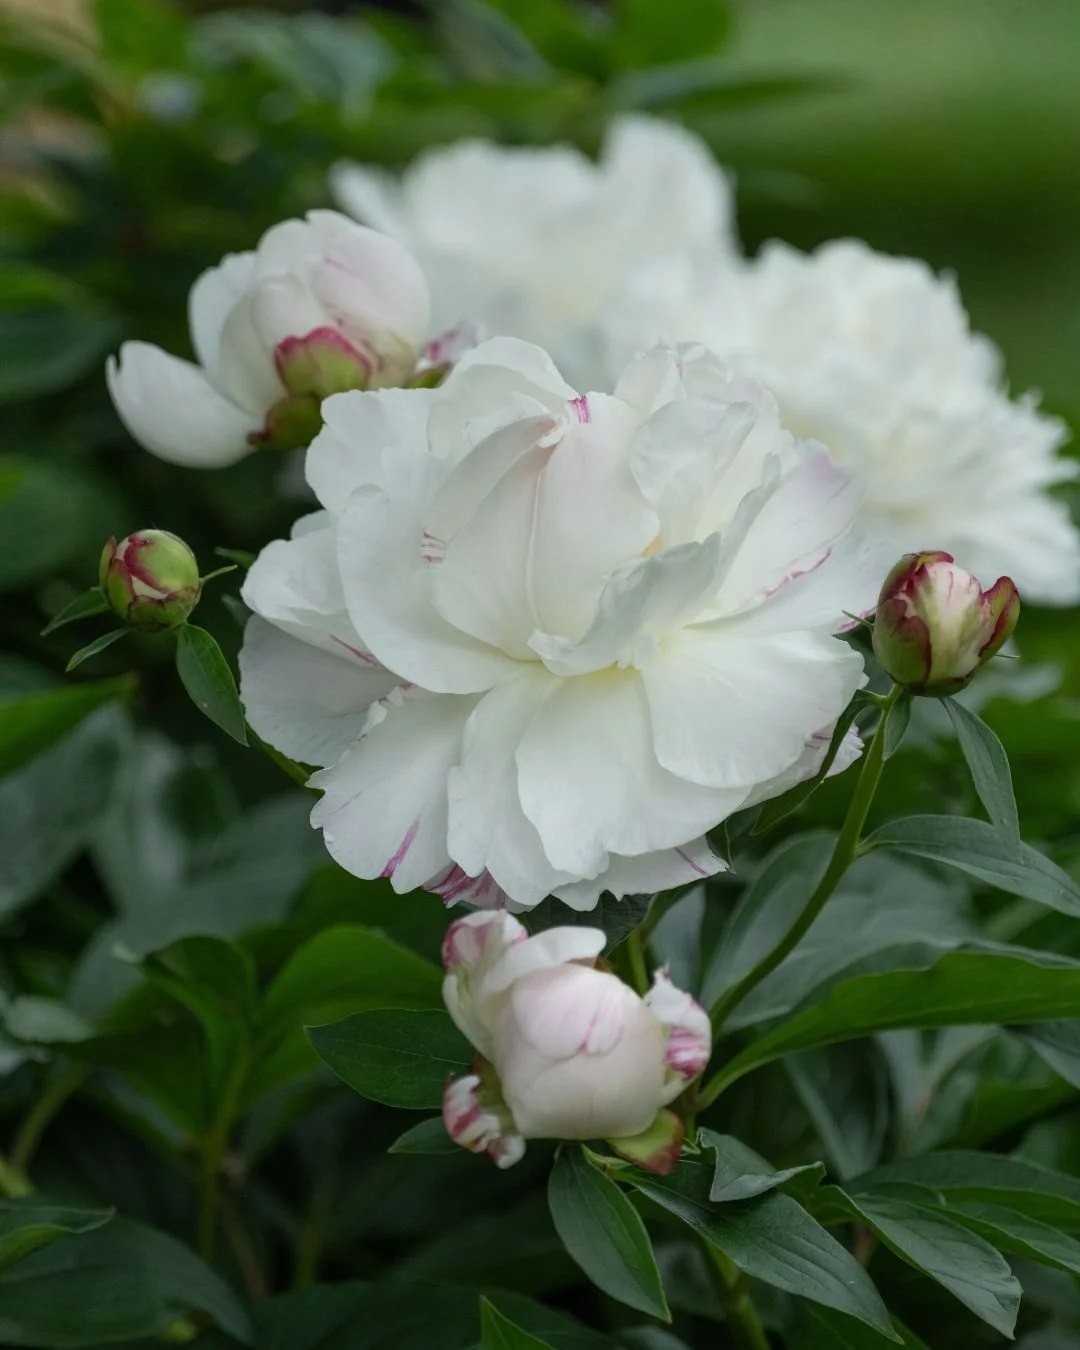
Tip 3: Master the Close-Up Shot
Some of the most breathtaking garden photographs are intimate close-ups — the unfurling of a new bud, the spiral center of a zinnia, the soft texture of lamb’s ear. Your iPhone has everything you need to capture these details beautifully.
• Use Portrait Mode for dreamy bokeh: Portrait Mode blurs the background while keeping your subject sharp, creating that professional “bokeh” look that makes a single flower pop. It works best when you’re about 1–2 feet from your subject.
• Use the macro lens if you have it: iPhone 13 Pro and newer models include a macro lens that can focus just centimeters from a subject. It automatically engages when you get very close. This opens up a whole world of tiny garden details — stamens, veining on petals, tiny insects.
• Get low and look through the garden: Crouch down to flower level rather than shooting from above. A low angle creates depth, puts sky or blurred foliage behind your subject, and gives the image a more immersive, intimate feel.
• Stabilize before you shoot: Close-up shots magnify every tiny shake. Brace your elbow against your body, hold your breath for a moment, and use the volume button instead of tapping the screen to fire the shutter. Even a light breeze can blur a macro shot, so patience is part of the process.
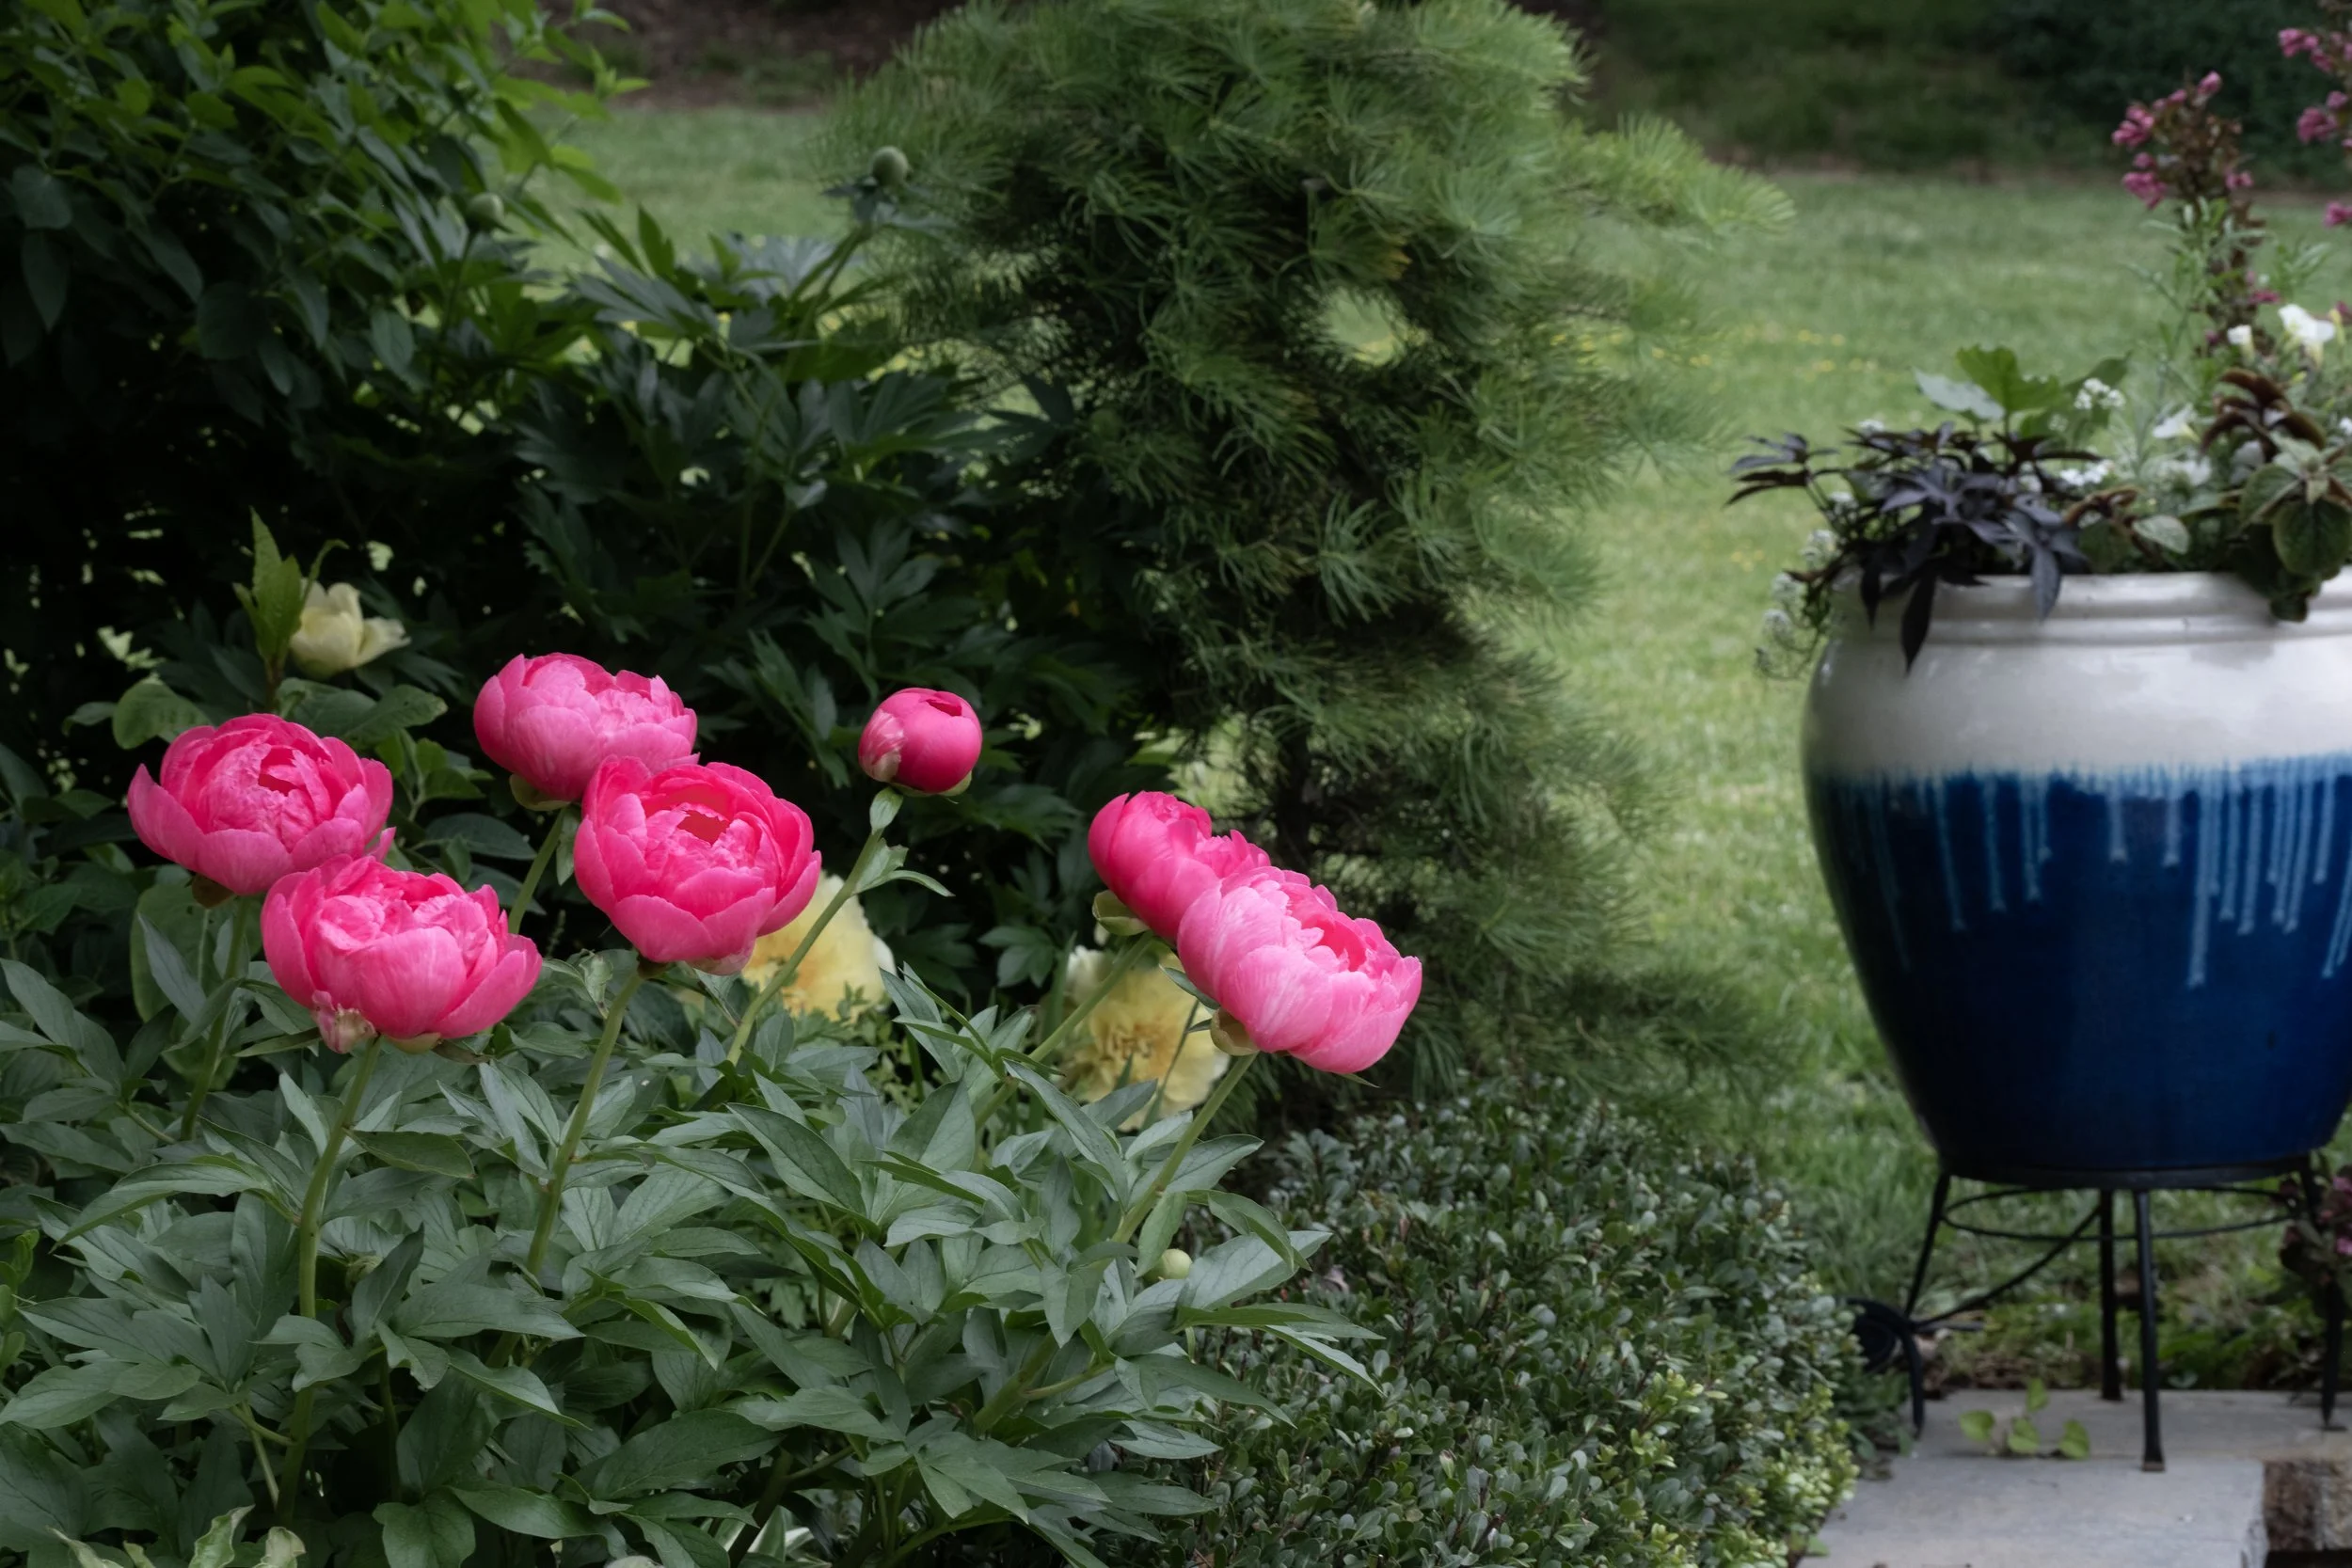
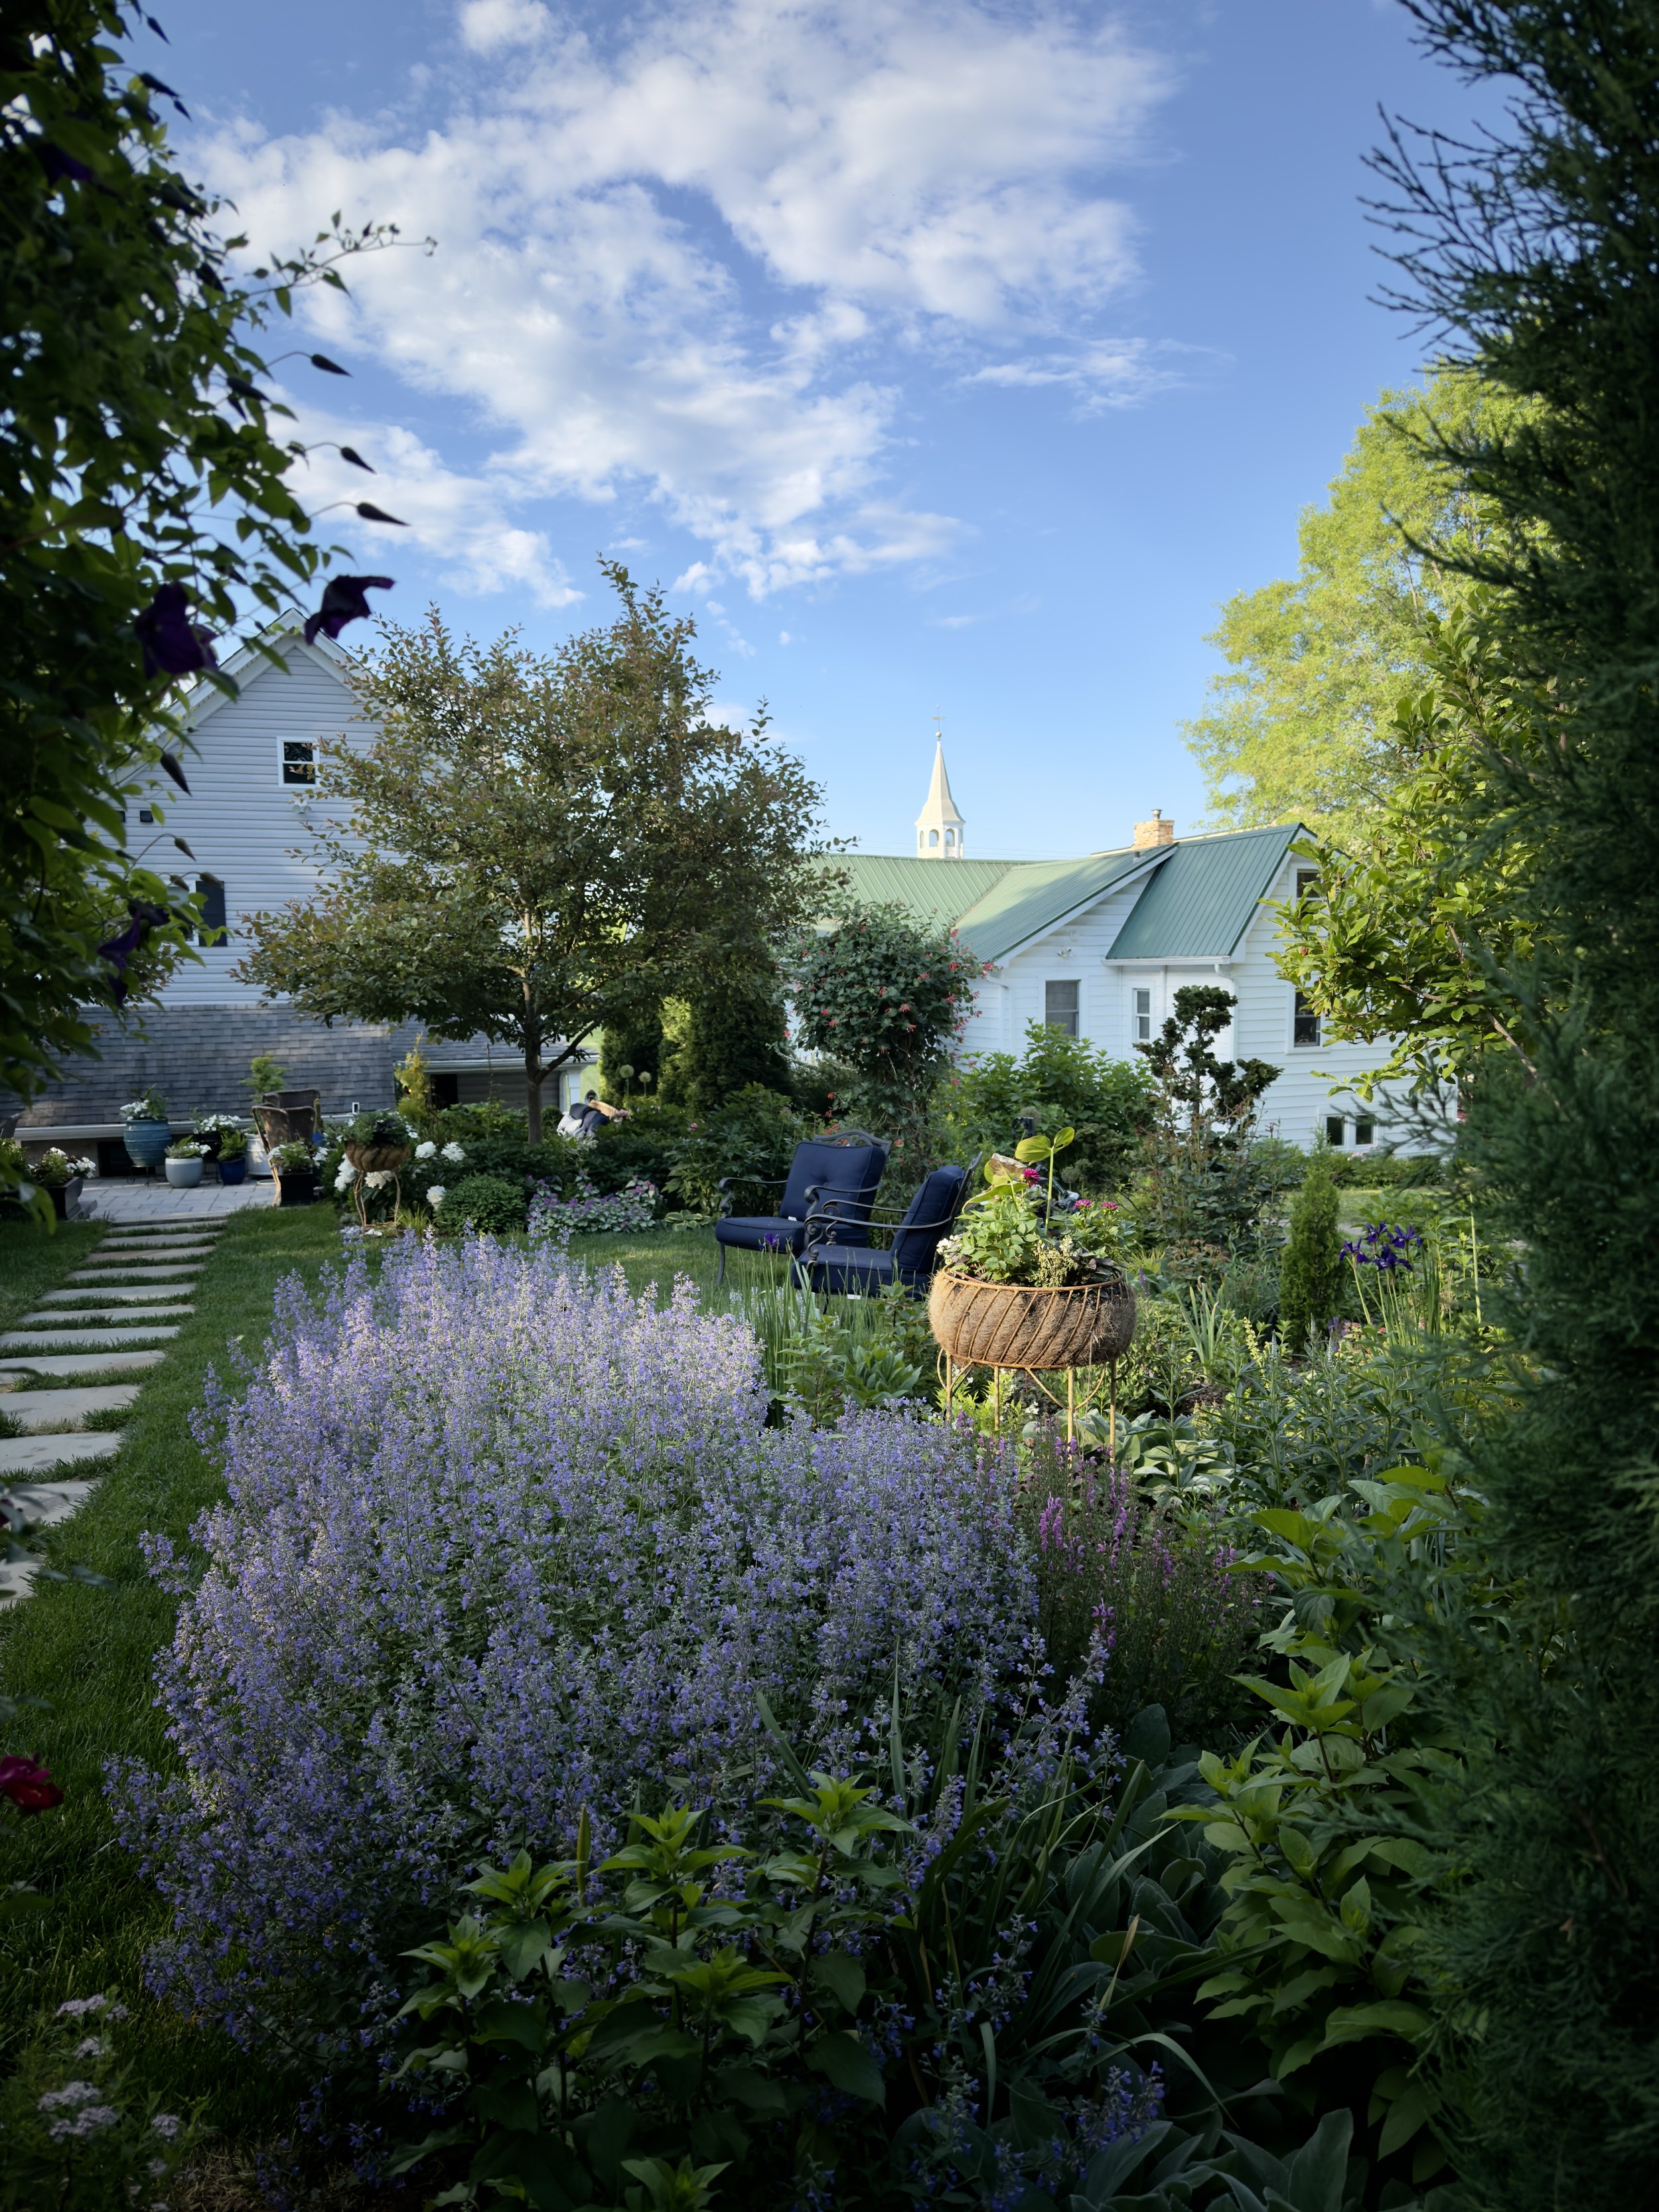
Tip 4: Think About Composition and Layers
A beautiful flower in a boring frame is still a boring photo. The way you compose your shot — what you include, what you leave out, and how you arrange the visual layers — is what separates a snapshot from a story.
• Use the rule of thirds: Place your main subject where the grid lines intersect rather than dead center. This creates a more natural, visually interesting image and leaves room for the background to breathe.
• Look for leading lines: Garden paths, fence lines, climbing stems, and rows of plantings can all draw the viewer’s eye into the frame. Use them intentionally to give your image a sense of depth and movement.
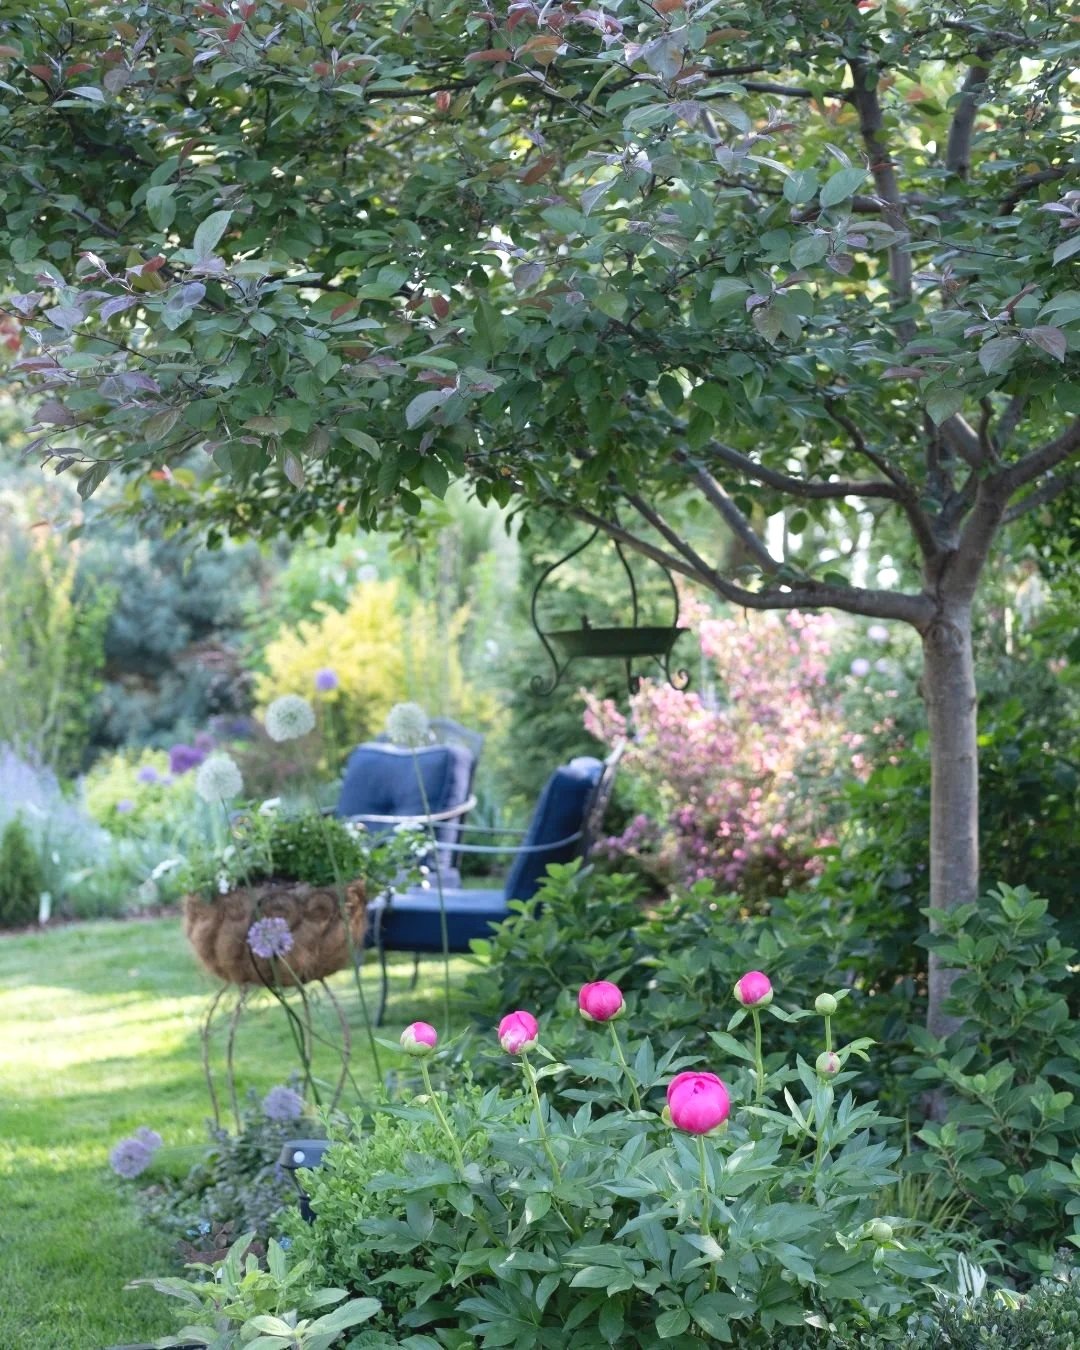
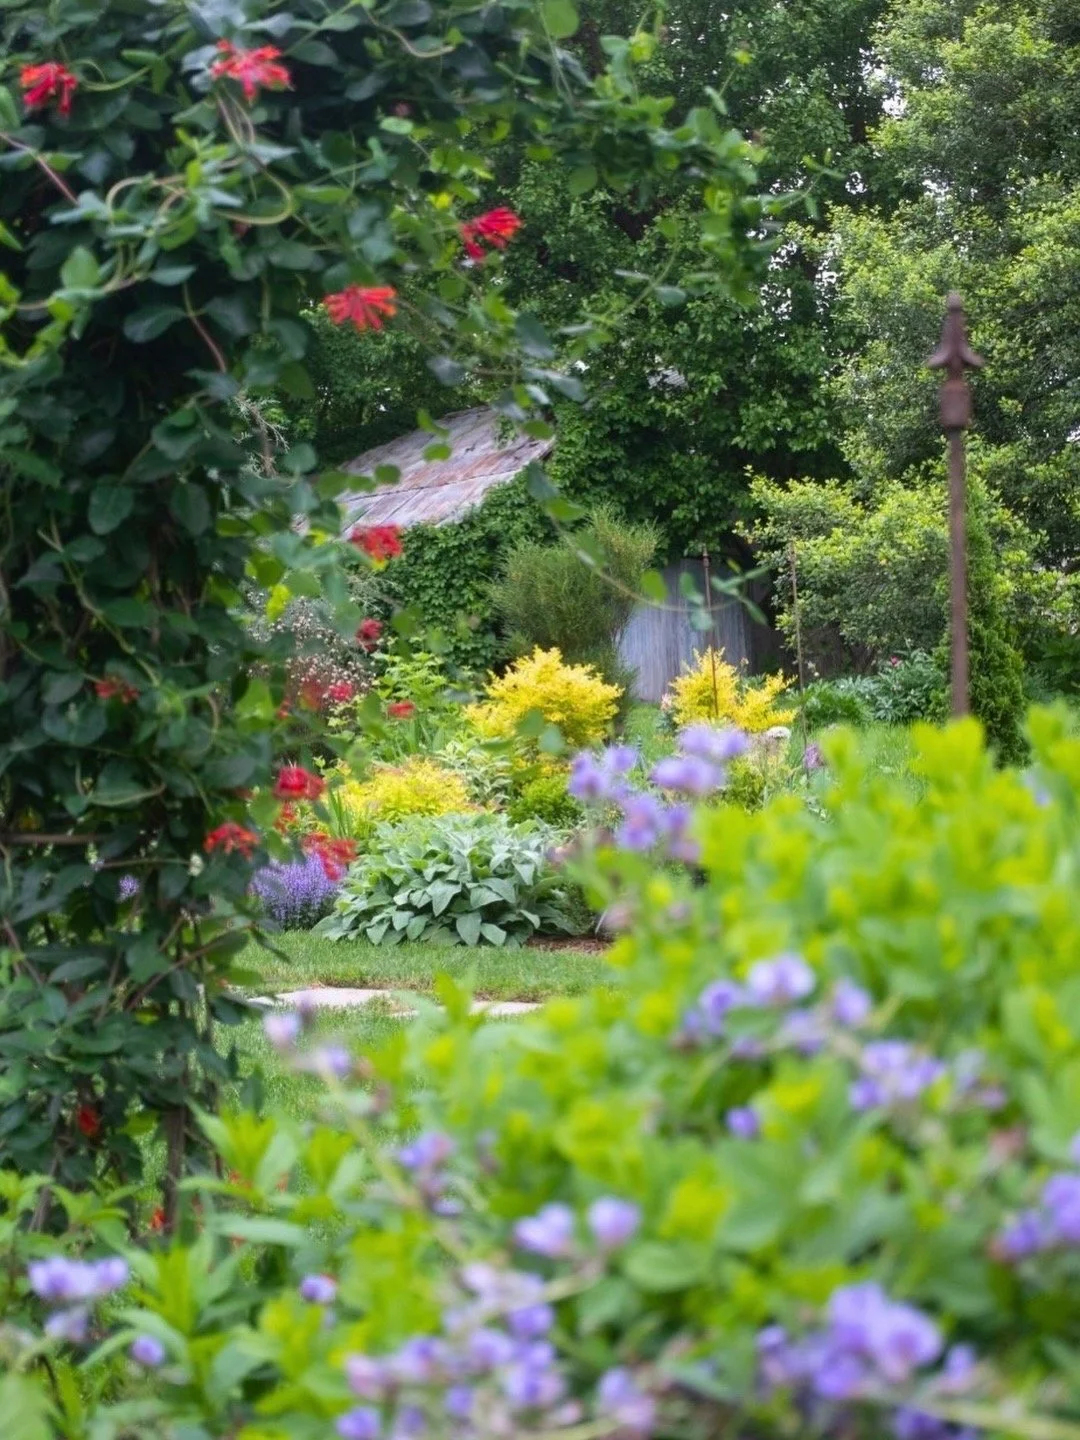
• Include context for a sense of place: Sometimes pulling back slightly to include a rustic fence post, a stone path, or a garden bench tells a richer story than the flower alone. A little context transforms a flower photo into a garden photo. Shoot through other trees, garden spaces, shrubs for an interesting creative look.
• Shoot through something: One of my favorite techniques is positioning the camera so that something is slightly out of focus in the foreground — a cluster of blurred leaves, the soft edge of a neighboring bloom, a rustic garden gate, or even tall grass. This creates a natural frame around your subject and gives the image layers of depth that pull the viewer right into the scene. Hold your phone close to the foreground element without focusing on it, let it blur softly, and then tap to focus on your main subject behind it. The result feels immersive and painterly — like a little window into the garden.
Shooting through the garden, tell the camera where to focus.
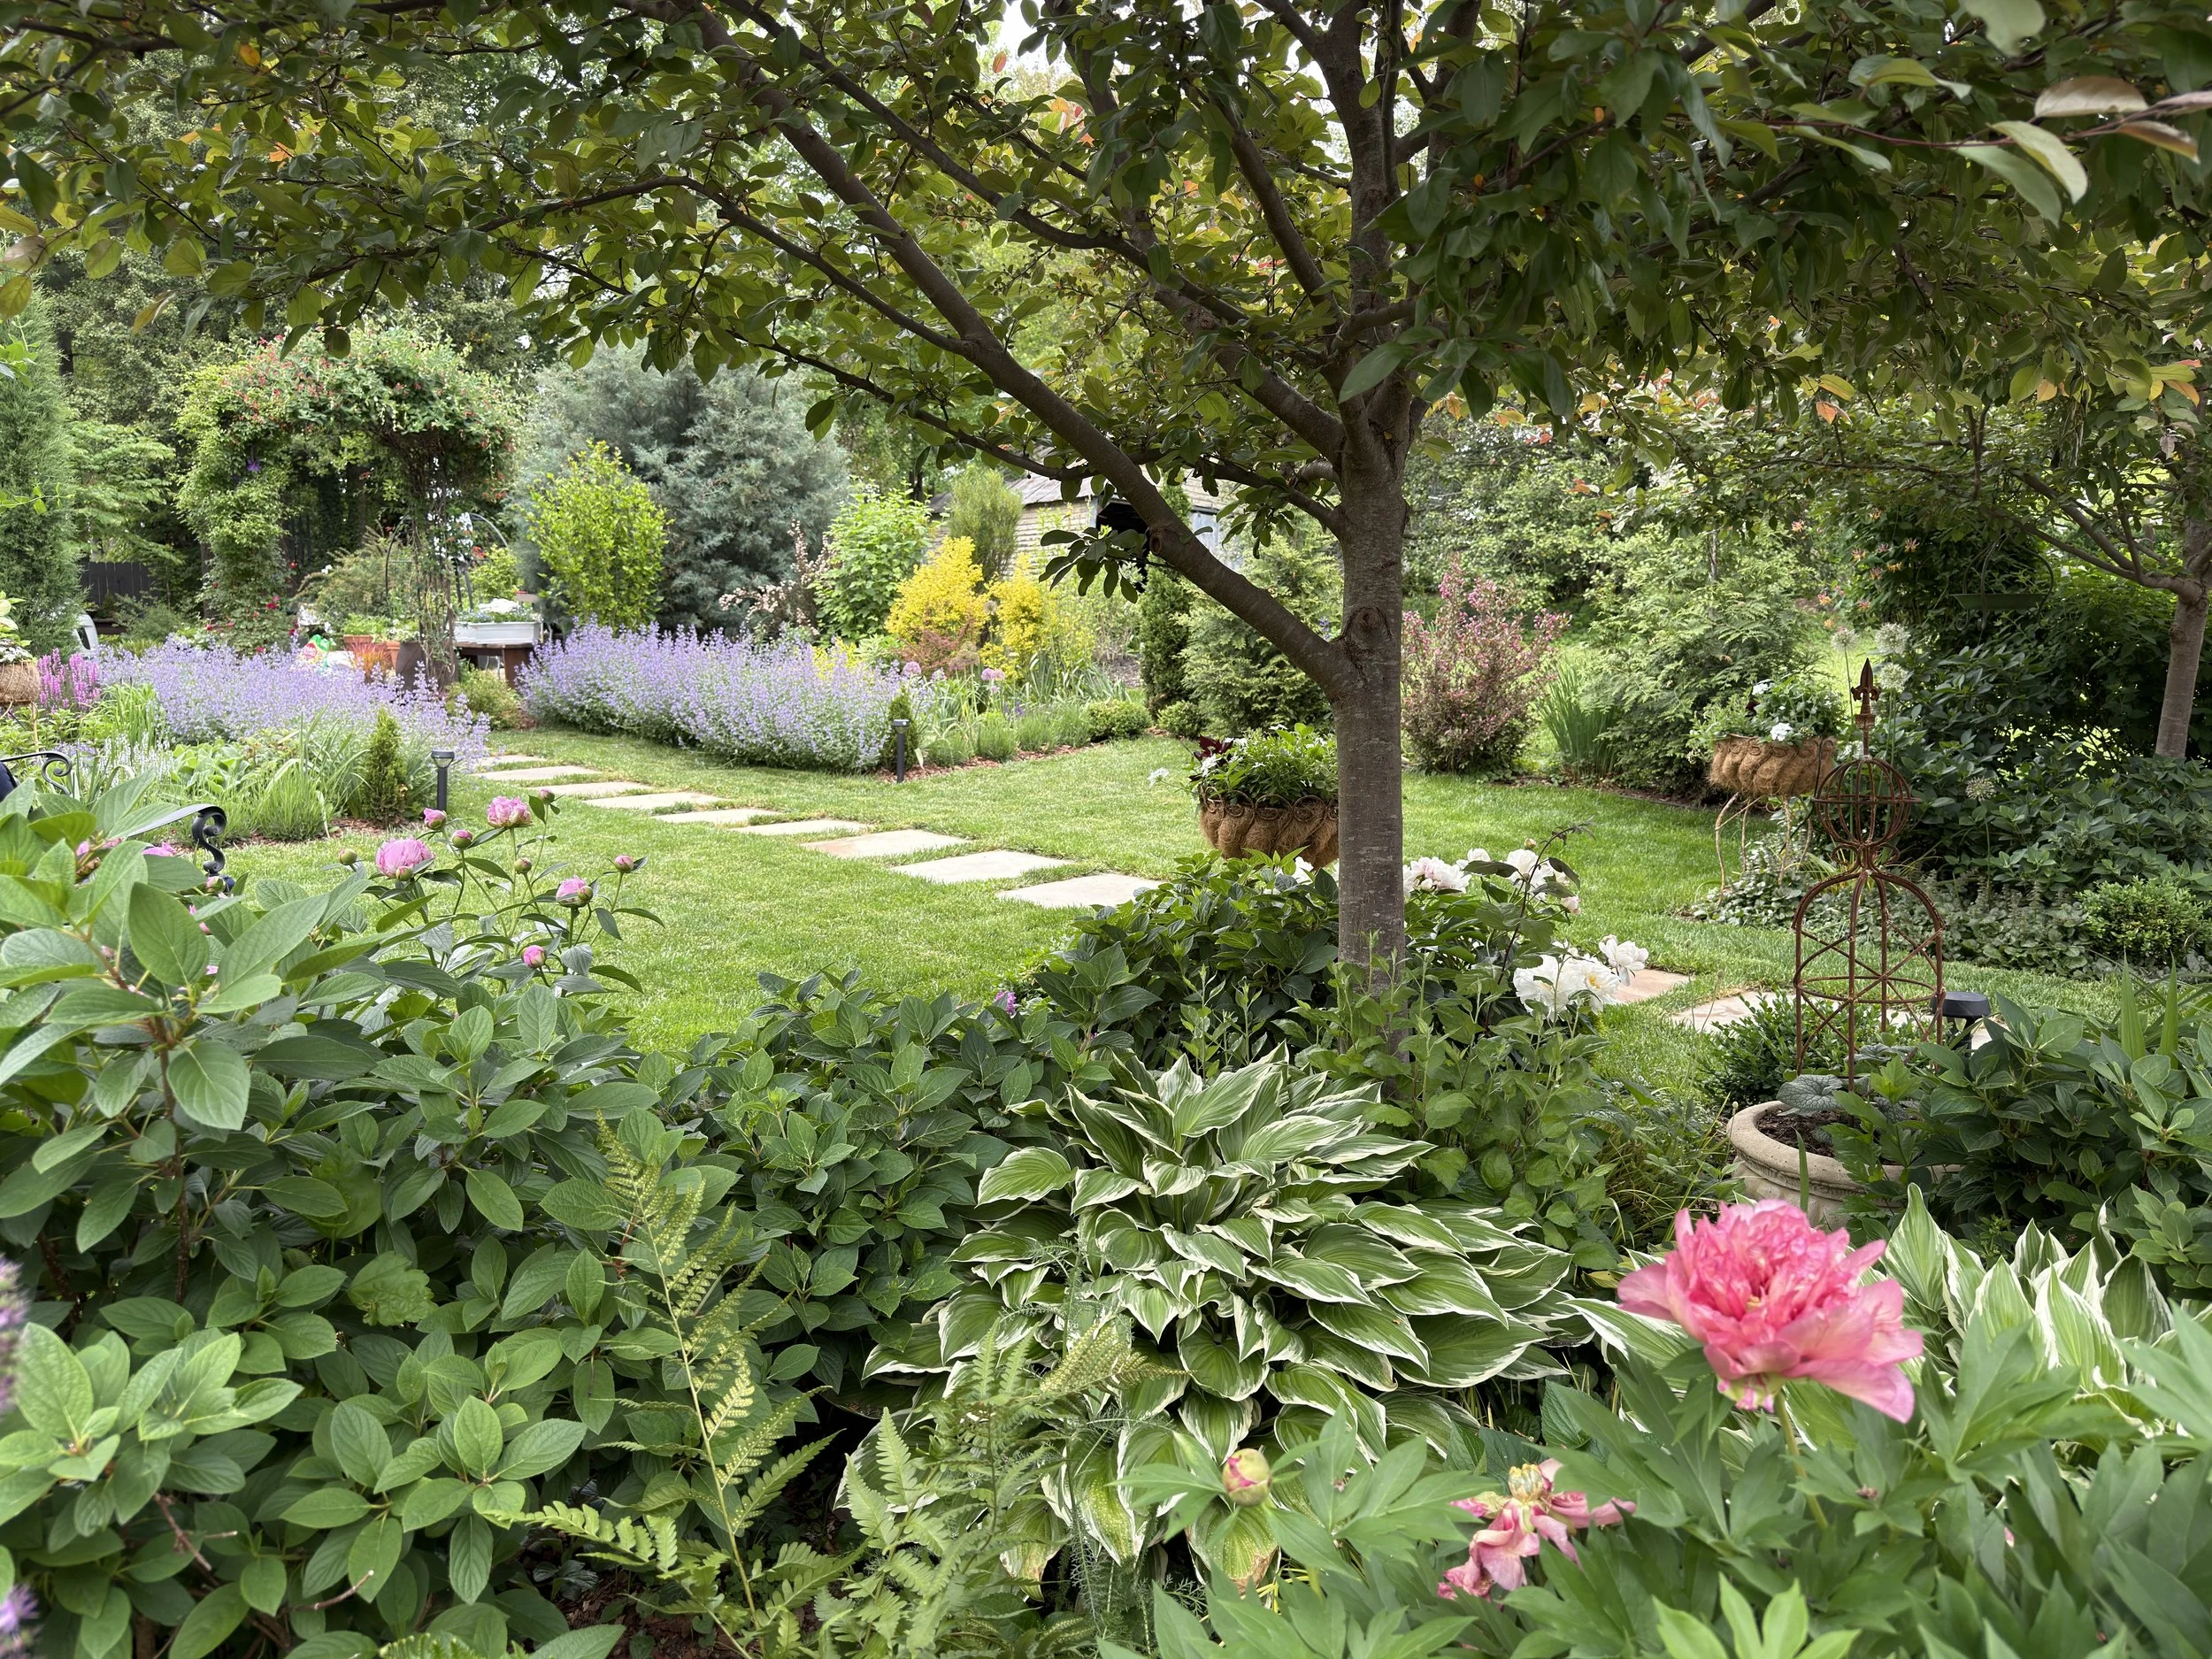
Stand back and consider framing the larger garden scenes, lead the eye through the garden.
Tip 5: Edit Simply and with Intention
Even a great in-camera shot benefits from a gentle edit. The goal isn’t to transform the image — it’s to bring out what was already there.
• Start with the iPhone Photos app: The built-in editor is more powerful than most people realize. Adjust Highlights, Shadows, and colors. A small bump in Vibrance makes flower colors richer without looking oversaturated.
• Try Lightroom Mobile (free): Adobe Lightroom’s free mobile app offers presets and finer controls. A light, warm preset can give your garden photos a cohesive, cottage-garden aesthetic that ties your feed together beautifully.
• Keep edits subtle: Garden photography is at its best when it feels true to life. Over-processed images lose the soft, organic quality that makes a flower beautiful in the first place. When in doubt, do less.

Before
Using LR Mobile to make a quick edit of the foreground to brighten just a little without overexposing the sky.
One Last Thought
The most important thing I’ve learned about garden photography — with an iPhone or anything else — is that slowing down is the secret. The same mindset that makes us better gardeners makes us better photographers. When you stop rushing and start really looking, you begin to notice the light shifting, the way a petal curls at its edge, the small moment that no one else would ever catch.
A garden is full of those moments every single day. Your iPhone is already in your pocket. You have everything you need.
Happy shooting,
Lori