How to Photograph Gardens Beautifully
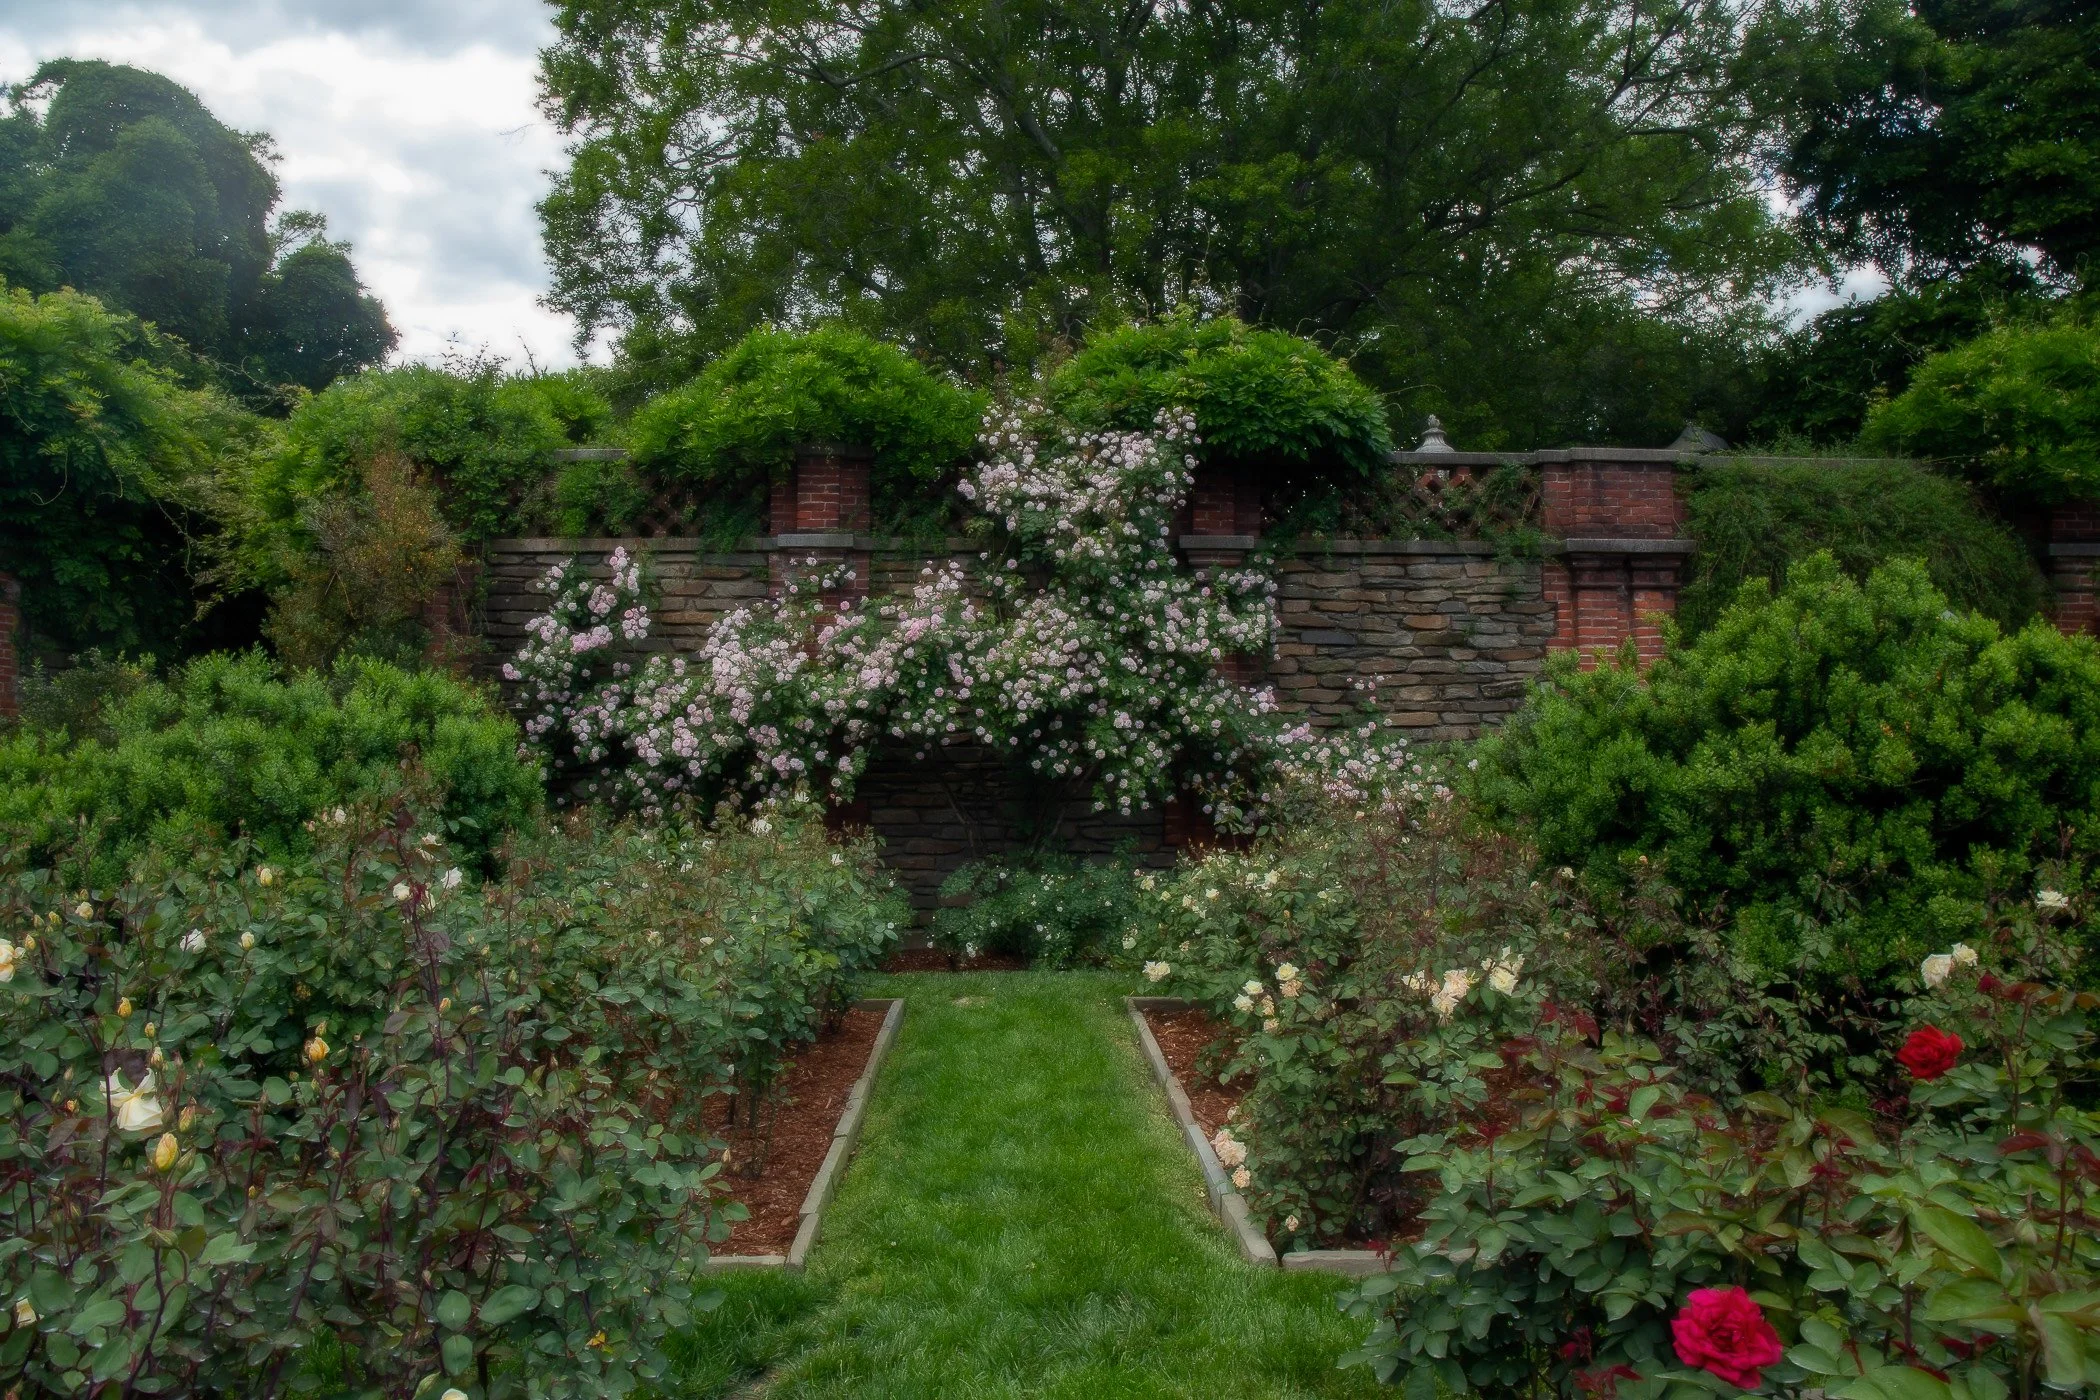
Dumbarton Oaks Rose Garden, Washington DC
Thoughtful ways to capture space, light, structure, and the feeling of a garden
Photographing a garden is a little different from photographing a single flower. A close-up bloom can be lovely almost anywhere, but a wider garden scene asks more of us. We have to notice the light, the shape of the space, the balance of the planting, and how all the elements come together in one frame.
That is what makes garden photography so rewarding.
A beautiful garden image is not just about color. It is about atmosphere, composition, and timing. It is about knowing when to step back for the wider view, when to move in for detail, and when to simply wait for the light to do its work.
Here are some of the most helpful things to keep in mind when photographing gardens.
Choose your lens with intention
One of the most useful tools for photographing gardens is a long-focal-length lens. While many people assume gardens should always be photographed wide, a slightly longer lens can often create a much stronger image.
Longer lenses help simplify a scene. They allow you to cut out empty or distracting sky, compress layers of planting, and create more frame-filling views of borders and garden rooms. A zoom lens is especially helpful because you can make several different compositions from one position without constantly moving around. That can be incredibly useful when the light is changing quickly or when you have found a particularly strong viewpoint.
Wider lenses certainly have their place too, especially when you want to show the full structure of a garden or include paths, buildings, walls, or architectural features. But they require more care. The wider the frame, the more everything in it matters. A wide garden image only really works when each element is contributing something beautiful or necessary to the composition.
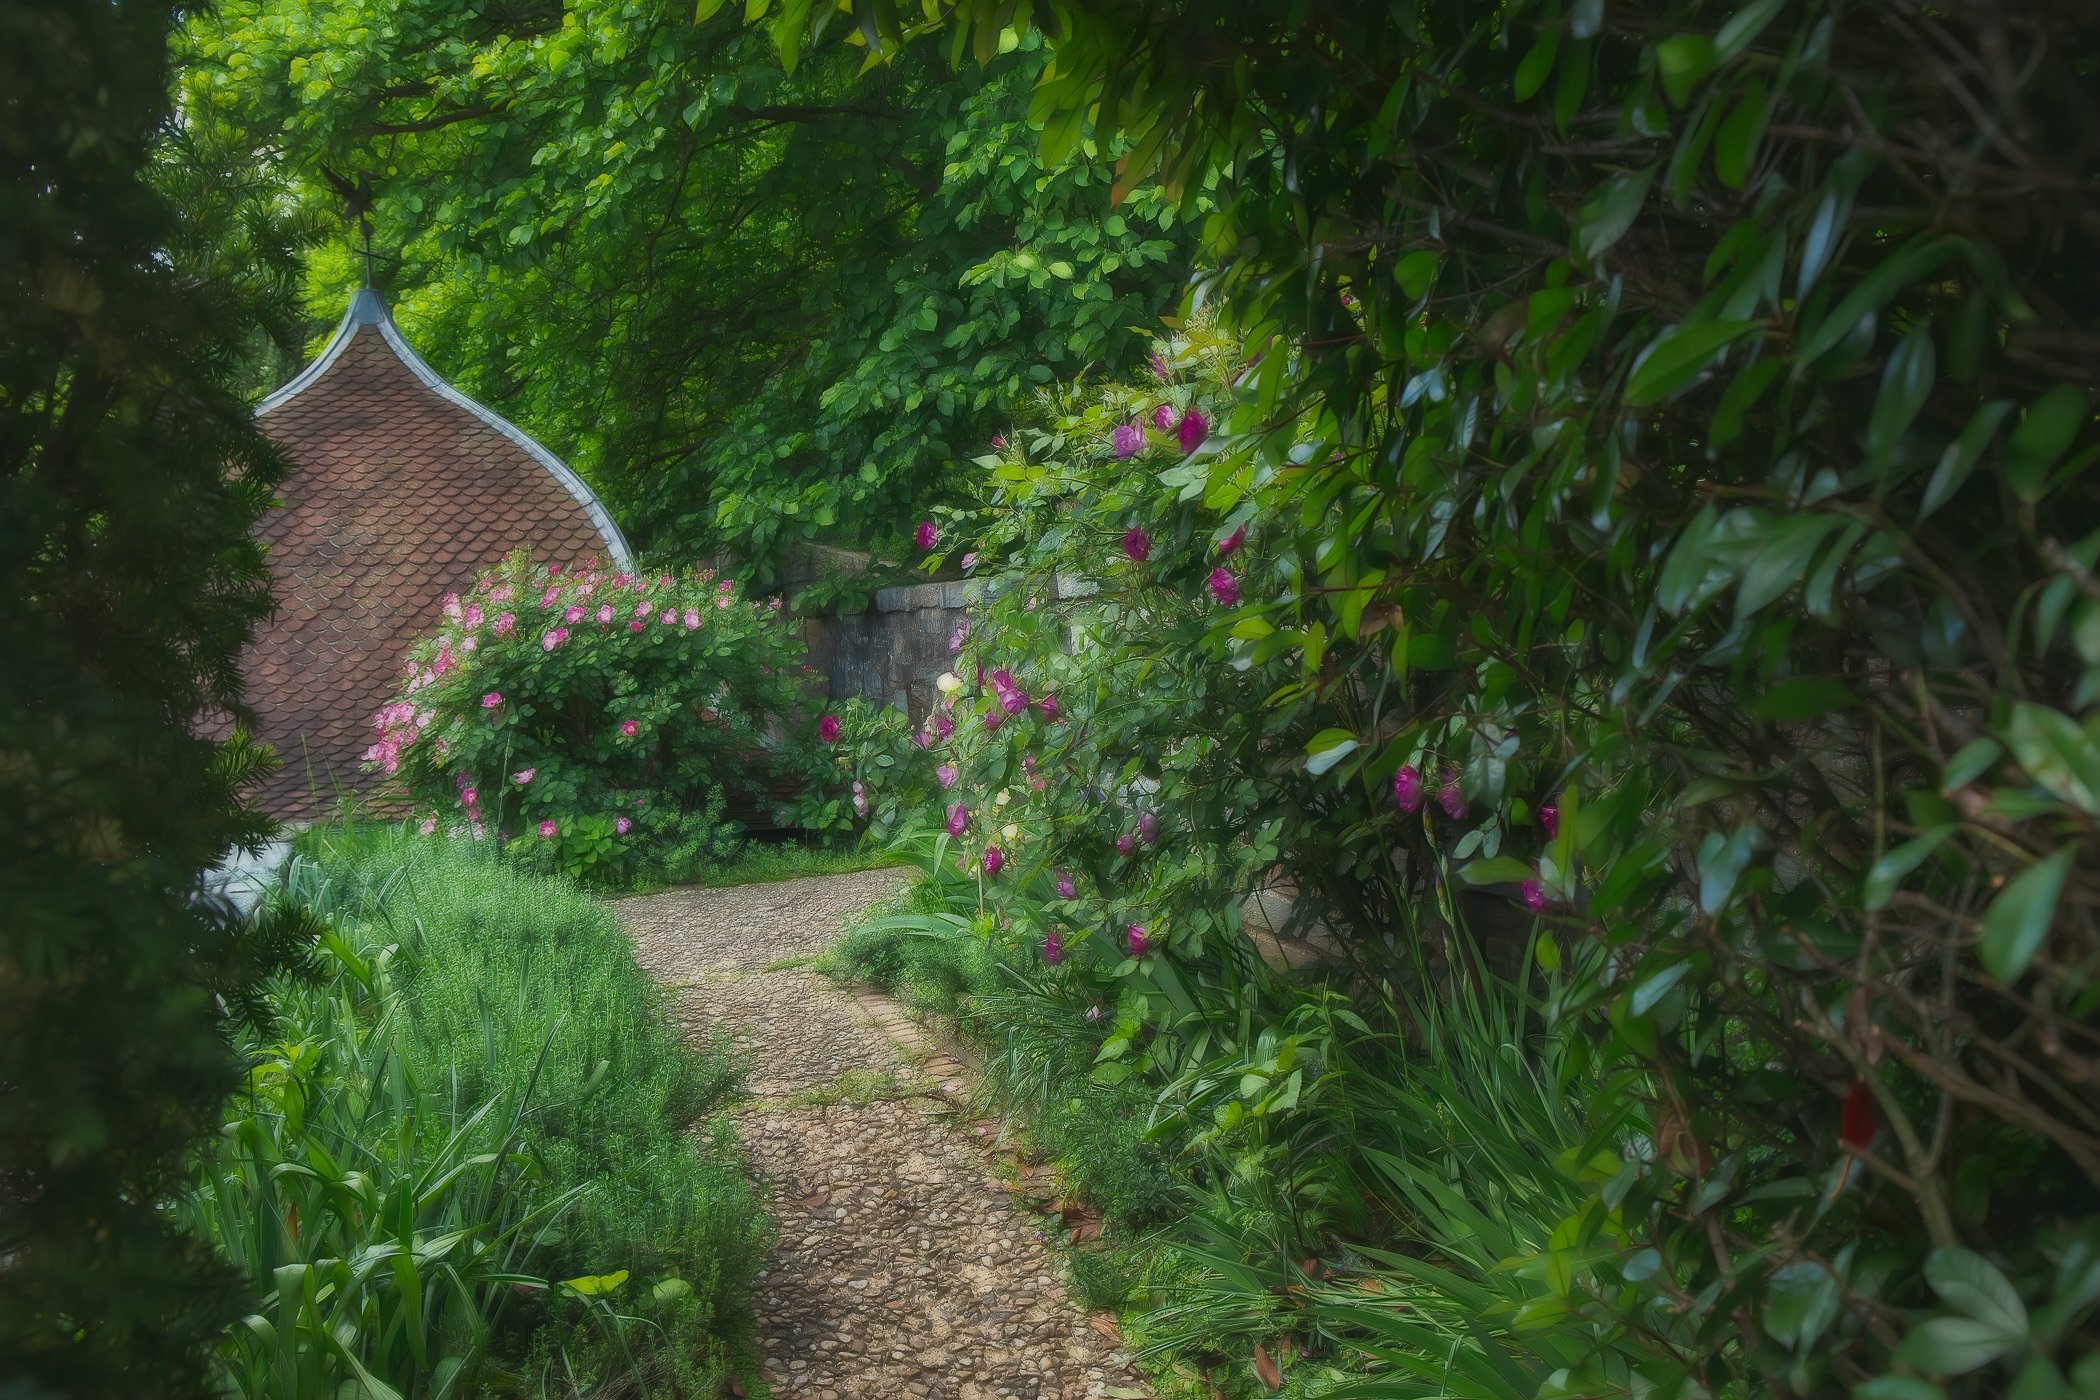
Dumbarton Oaks Garden, Washington DC
Edited with an artistic final look.
Wider garden views take planning
A single perfect flower is easy enough to find. A whole border looking beautiful from edge to edge is much harder.
That is why wider garden photography often takes familiarity and patience. It helps to know the garden well, or at least to spend time walking it before you begin shooting. Look at how one area is developing. Notice which corners feel full and harmonious, and which still look sparse or untidy. The best wide views usually come from gardens that are at just the right moment.
If you are including built elements like a conservatory, pergola, wall, or house, pay special attention to vertical lines. Wide compositions with architecture can quickly start to feel distorted if you are not careful with your angle. Clean structure matters just as much as beautiful planting in these kinds of images.
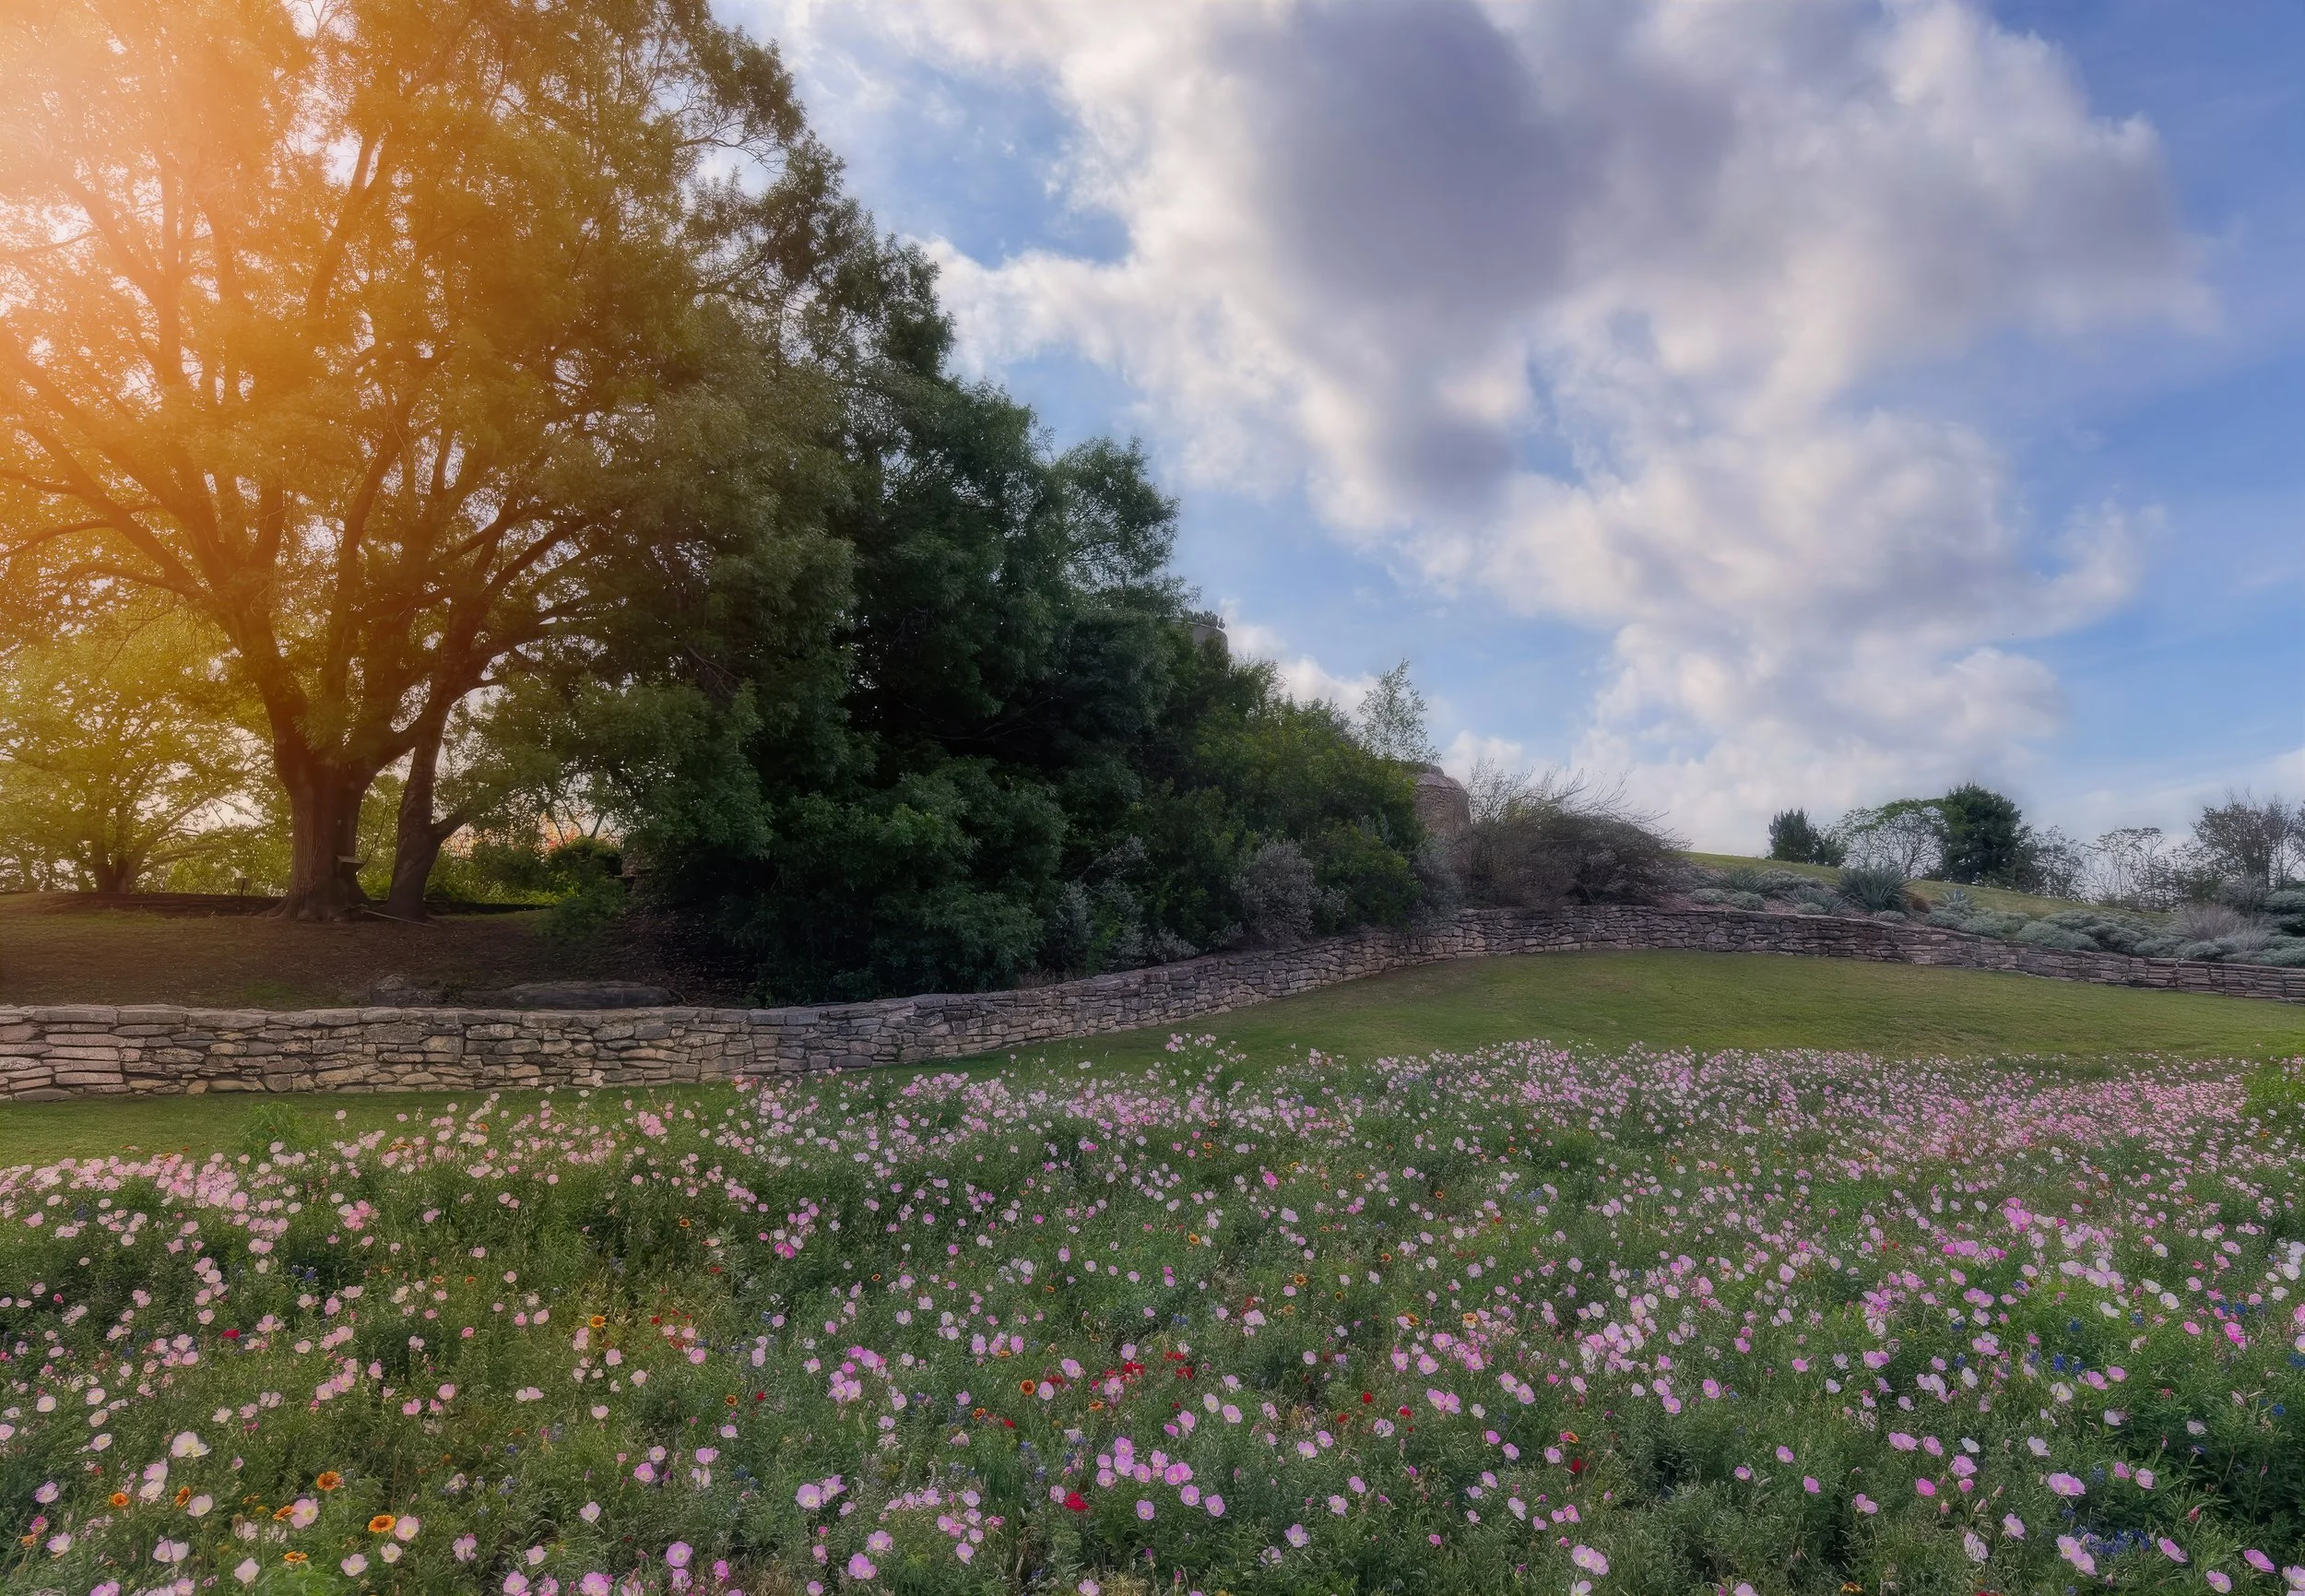
San Antonio Botantic Garden, Texas
Why a tripod makes such a difference
A tripod may not feel glamorous, but for garden photography, it can make all the difference.
Using one naturally slows you down, and that is a good thing. It encourages more thoughtful composition and helps you really look at what is happening in the frame before you press the shutter. A tripod is also especially useful when you are working in softer morning or evening light, when shutter speeds may be slower and even a small movement can soften the image.
It also makes it easier to:
Compose carefully
Refine focus with precision
Compare horizontal and vertical versions of the same scene
Use a timer to reduce camera shake
Even pressing the shutter can introduce a tiny vibration, so using a 2-second timer can help keep everything crisp when working at slower shutter speeds.
Simple camera settings for garden photography
When photographing gardens, depth and detail are often important, especially in wider views. A smaller aperture, such as f11 or f16, can help keep more of the scene in focus. Lower ISO settings, like ISO 100, are also ideal for preserving image quality and color. The tradeoff is that shutter speeds can become quite slow, which brings us back to the value of the tripod.
Aperture Priority mode can work beautifully for this kind of photography. It allows you to choose the aperture while the camera selects the shutter speed for the available light. That gives you a little more creative control without making the process overly complicated.
In practical terms, I would keep it simple:
Use a small aperture for wider scenes
Keep ISO low where possible
Let the camera help with shutter speed in Aperture Priority mode
Use a tripod whenever the light is low or the shutter drops too far
Shoot both horizontal and vertical compositions
This is such a useful habit, especially if you are photographing for publication, a blog, Pinterest, or social media.
A garden scene that works beautifully in a horizontal frame may also make a lovely vertical image with a slightly different emphasis. One might highlight the sweep of a border, while the other draws attention to height, repetition, or a path leading the eye through the space. Photographing both orientations gives you more flexibility later and often helps you see compositions you might otherwise miss.
The best light is often early or late
Light is everything in a garden.
If possible, photograph at dawn or in the evening when the light is softer, gentler, and more dimensional. These hours bring calm to a garden and often reveal textures and colors that disappear in the harsher light of midday. Morning can be especially beautiful, with dew, mist, and stillness adding atmosphere to the frame.
If you do need to shoot in the middle of the day, an overcast sky can actually be a gift. Soft cloud cover helps reduce contrast and can make flower colors appear richer and more balanced.
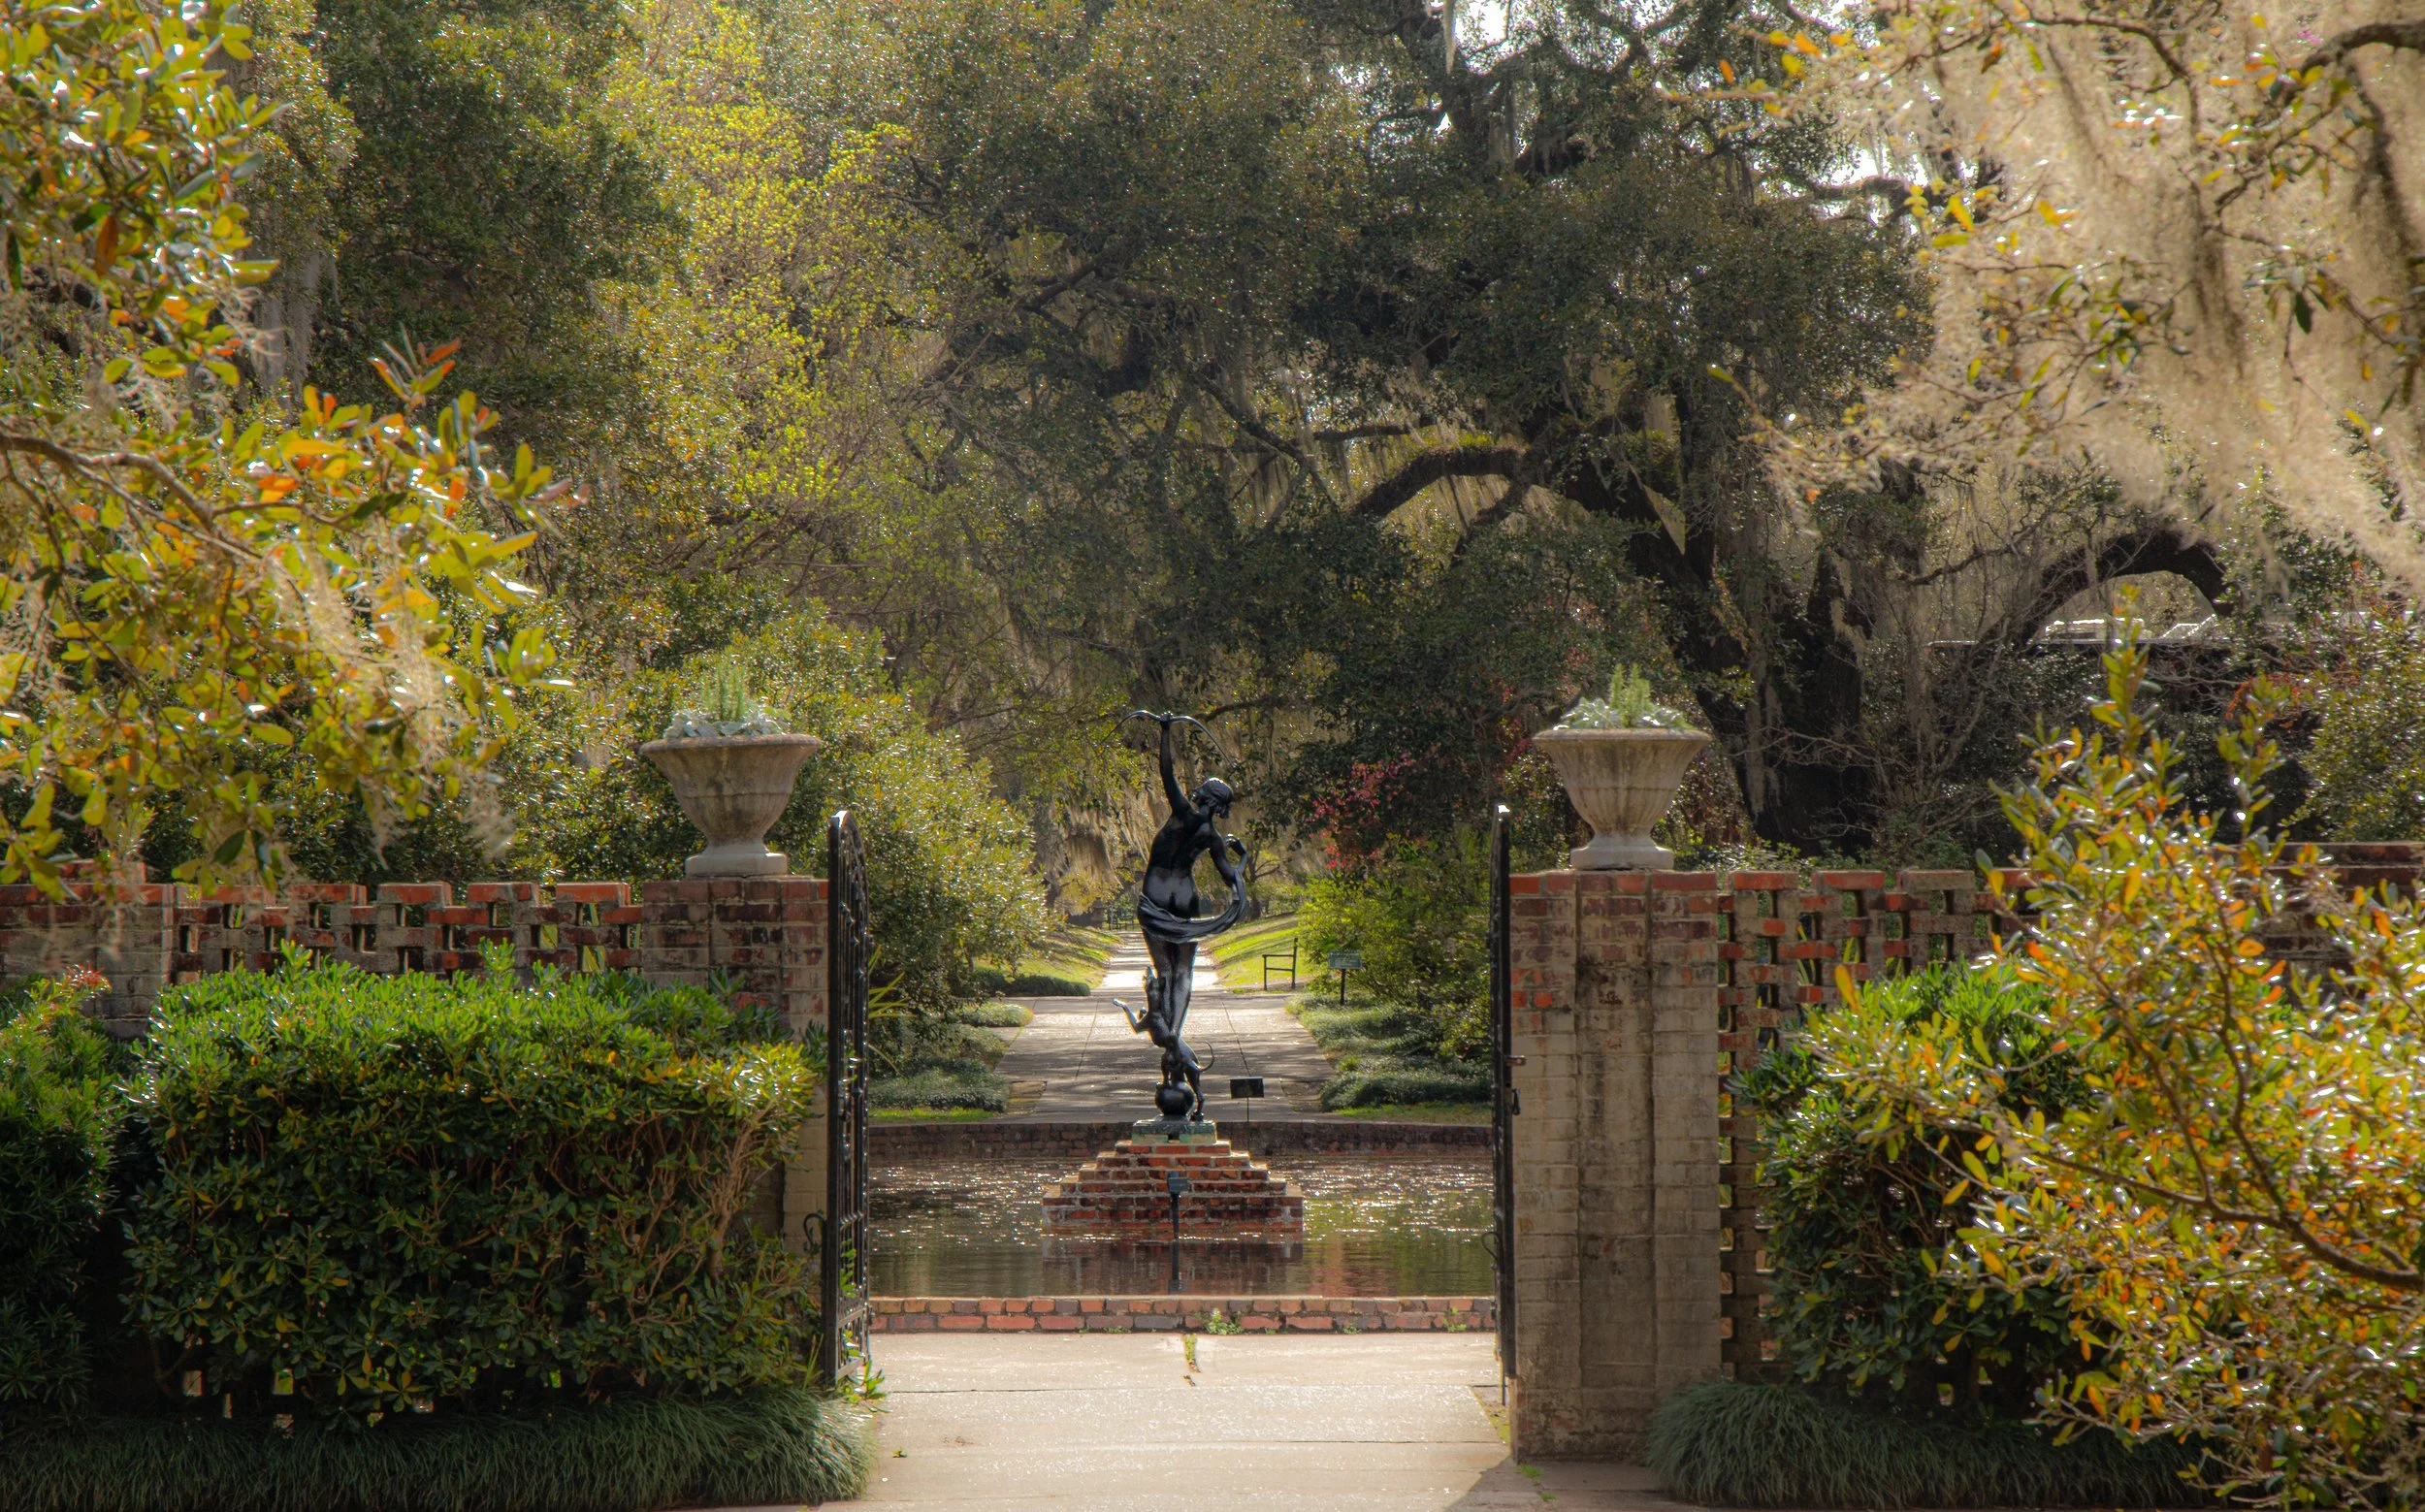
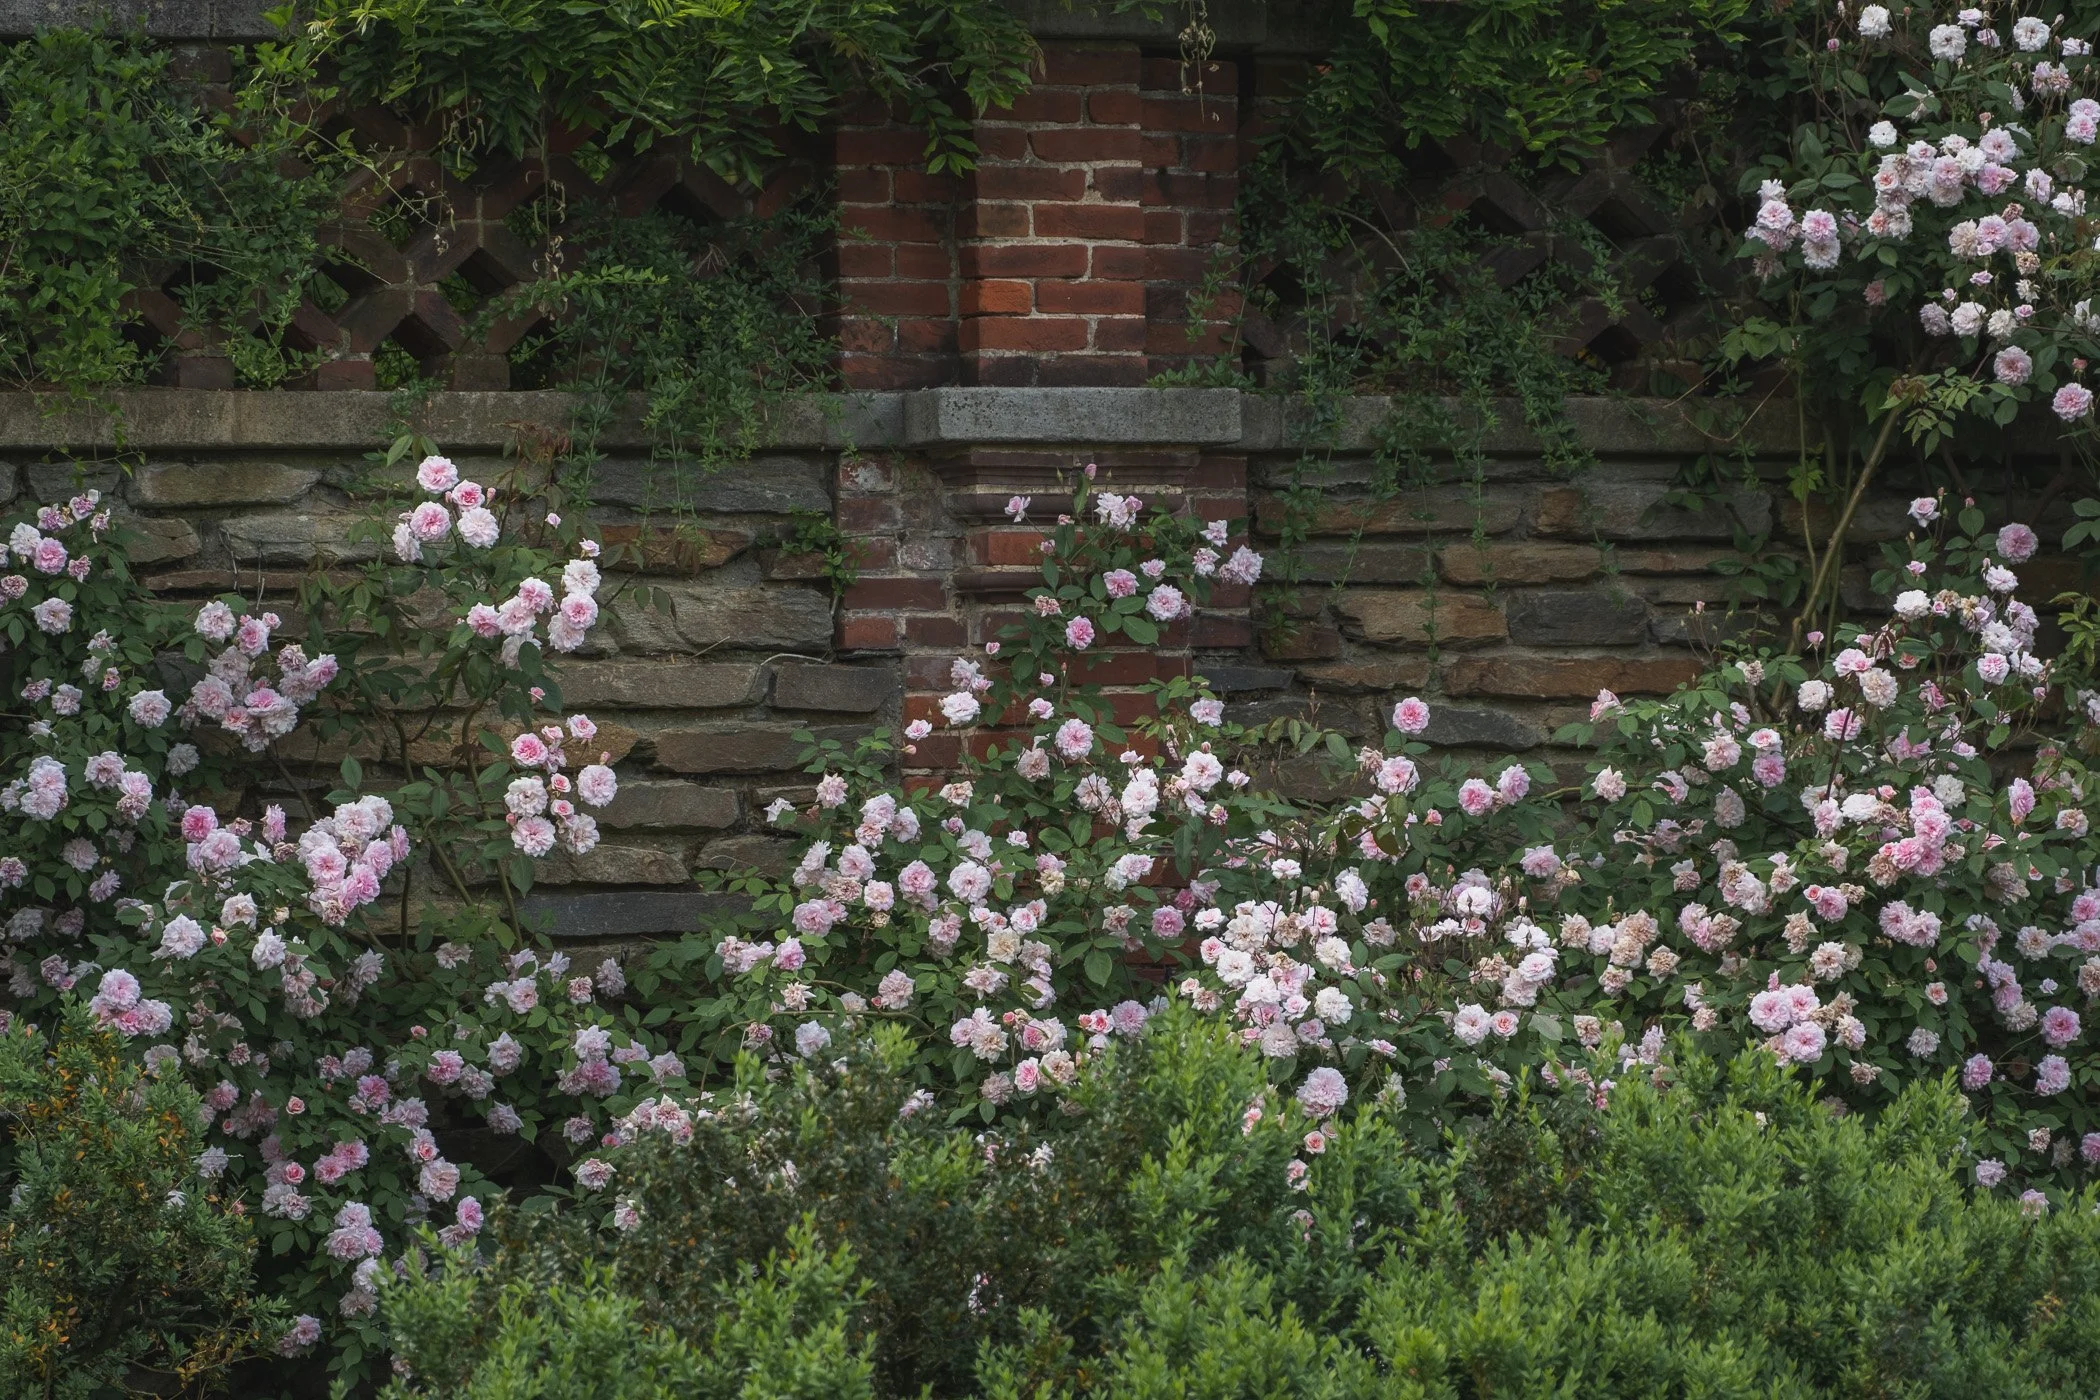
Brookgreen Gardens, South Carolina
Don’t wait only for perfect sunshine
One of the loveliest reminders is that gardens are not only beautiful in sunshine, but mist, fog, and even rain can create wonderfully atmospheric photographs. In fact, some colors can feel even more vibrant in soft morning mist than they do in bright sun.
Still, weather matters too. Wind is one of the quickest ways to make garden photography frustrating, especially when flowers and foliage will not stay still long enough for careful composition. Calm days are always a gift.
Plan before you go
Garden photography is often as much about planning as it is about technique.
Before visiting a garden, it helps to think about:
the season
the weather
the time of day
where the sun will fall
whether there are buildings, focal points, or long views you want to include
Even checking the layout of a garden ahead of time can help you arrive with a clearer sense of where you want to spend your time. The more intentional you are before you shoot, the easier it becomes to focus on beauty once you are there.
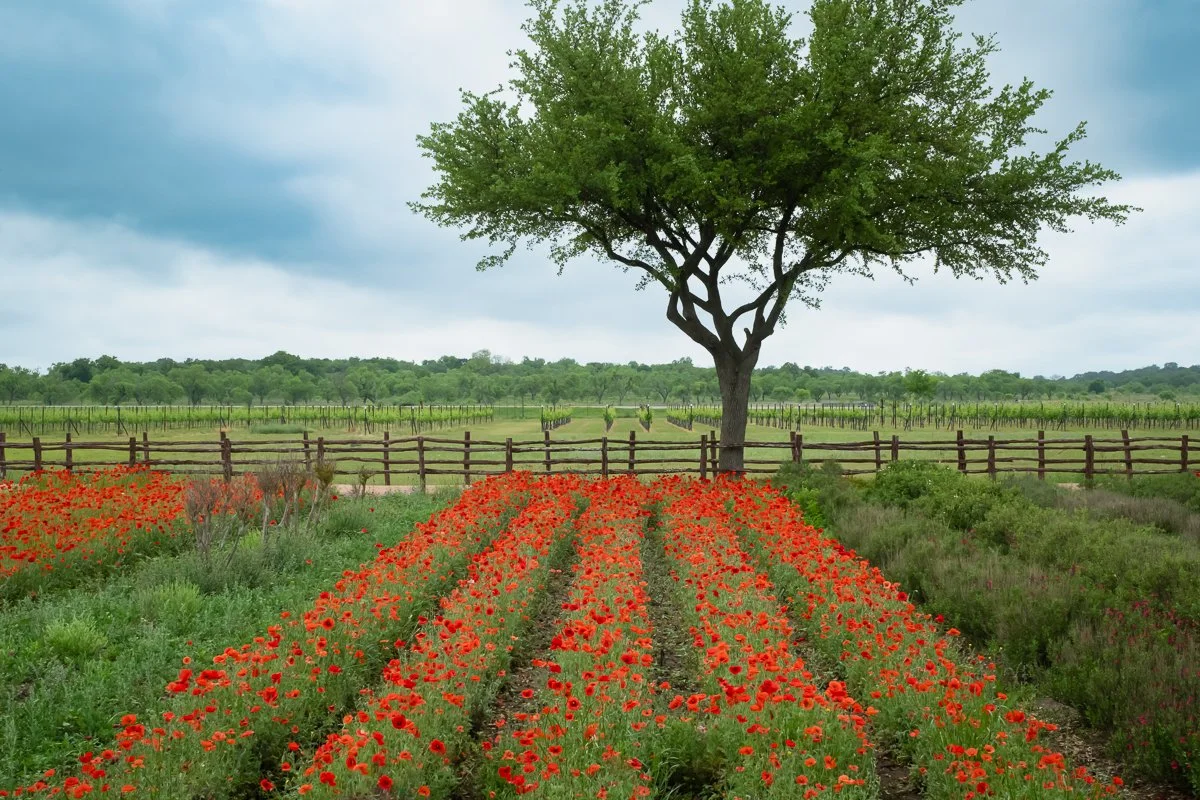
Wildseed Farms, Texas
Get to know gardens close to home
There is something special about returning to the same garden again and again. Familiarity helps you understand how a space changes through the seasons and where the best moments tend to happen.
Local gardens can become some of your greatest teachers. The more often you visit, the more you begin to notice timing, light, and rhythm. You learn which borders come alive in early spring, where the evening light lands in summer, and which areas feel magical in mist or rain. That kind of knowledge is hard to replace.
Final thoughts
Garden photography asks us to slow down and pay attention.
It is not only about flowers in bloom, but about structure, timing, weather, and the way light moves through a space. Some of the best images come from a thoughtful lens choice, a carefully considered viewpoint, and the patience to wait until the garden feels ready.
Have fun!
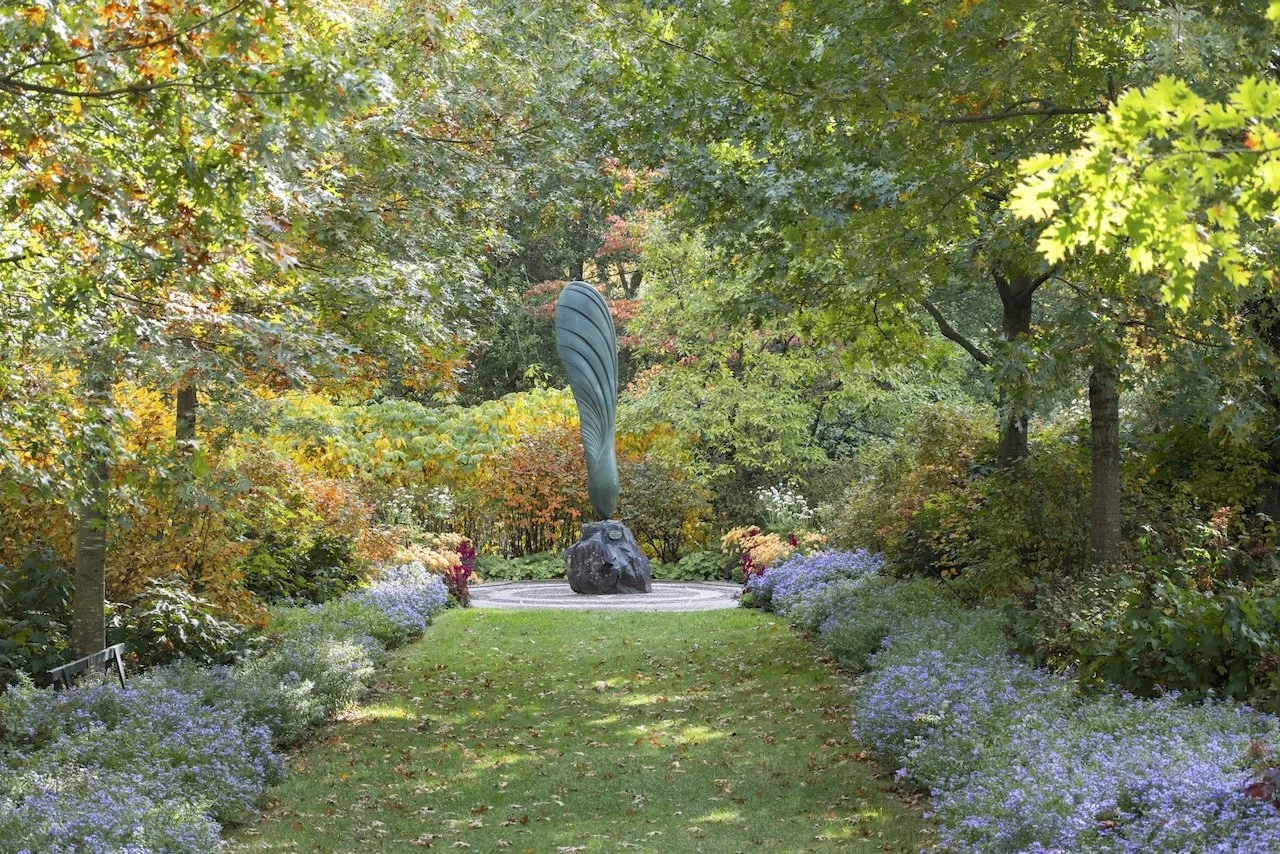
Mt Cuba, Pennsylvania